
I used to say that while we had a few deer visitors every year at PPCG, the humans always took home more from their gardens than the deer did.
And then last year happened.
Going into our 2019 growing season, I’m going to assume that if we want more harvest than heartbreak, we’re going to need to start off with active defenses. The good news is that many of us found some reasonable solutions that worked well for us.
For more info about deer control, see this post. Here I’m going to focus on the methods that seemed to work well for our gardeners, along with a few sources and best prices. (If you find some better options, please share!)
Repellent: Plantskydd

At least one of our gardeners, Gary (plot 31), had good luck with this product, which is sprayed on plants. OMRI-listed, it’s main ingredient is dried animal blood. For the best results, you’ll want to spray it early in the season, before deer get a taste of what’s in your garden.
Pros: One of the least expensive options in terms of initial outlay. No need to struggle with fence installation. Allows you to keep your garden open and easily accessed. Doesn’t wash off in rain. Organic.
Cons: Needs to be applied to new growth, so you do have to keep up with it. Since its main ingredient is animal blood, it (1) may not be an option for vegetarian gardeners and (2) will add nitrogen to your soil, which you may or may not want. Also, although the product specifies it’s safe for garden vegetable plants, you can’t spray it on any part of the plant that you intend to eat, such as lettuce leaves or tomatoes. There’s also a granular formula that you can sprinkle around your plants.
Available at: Amazon for $23.99 for a 32-oz. spray bottle or at Park Seed for $21.95. Check here for local dealer locations. You can also buy larger quantities in powder concentrate that you have to mix and a granular formula for sprinkling.
Fence Option 1: Multi-Purpose Netting
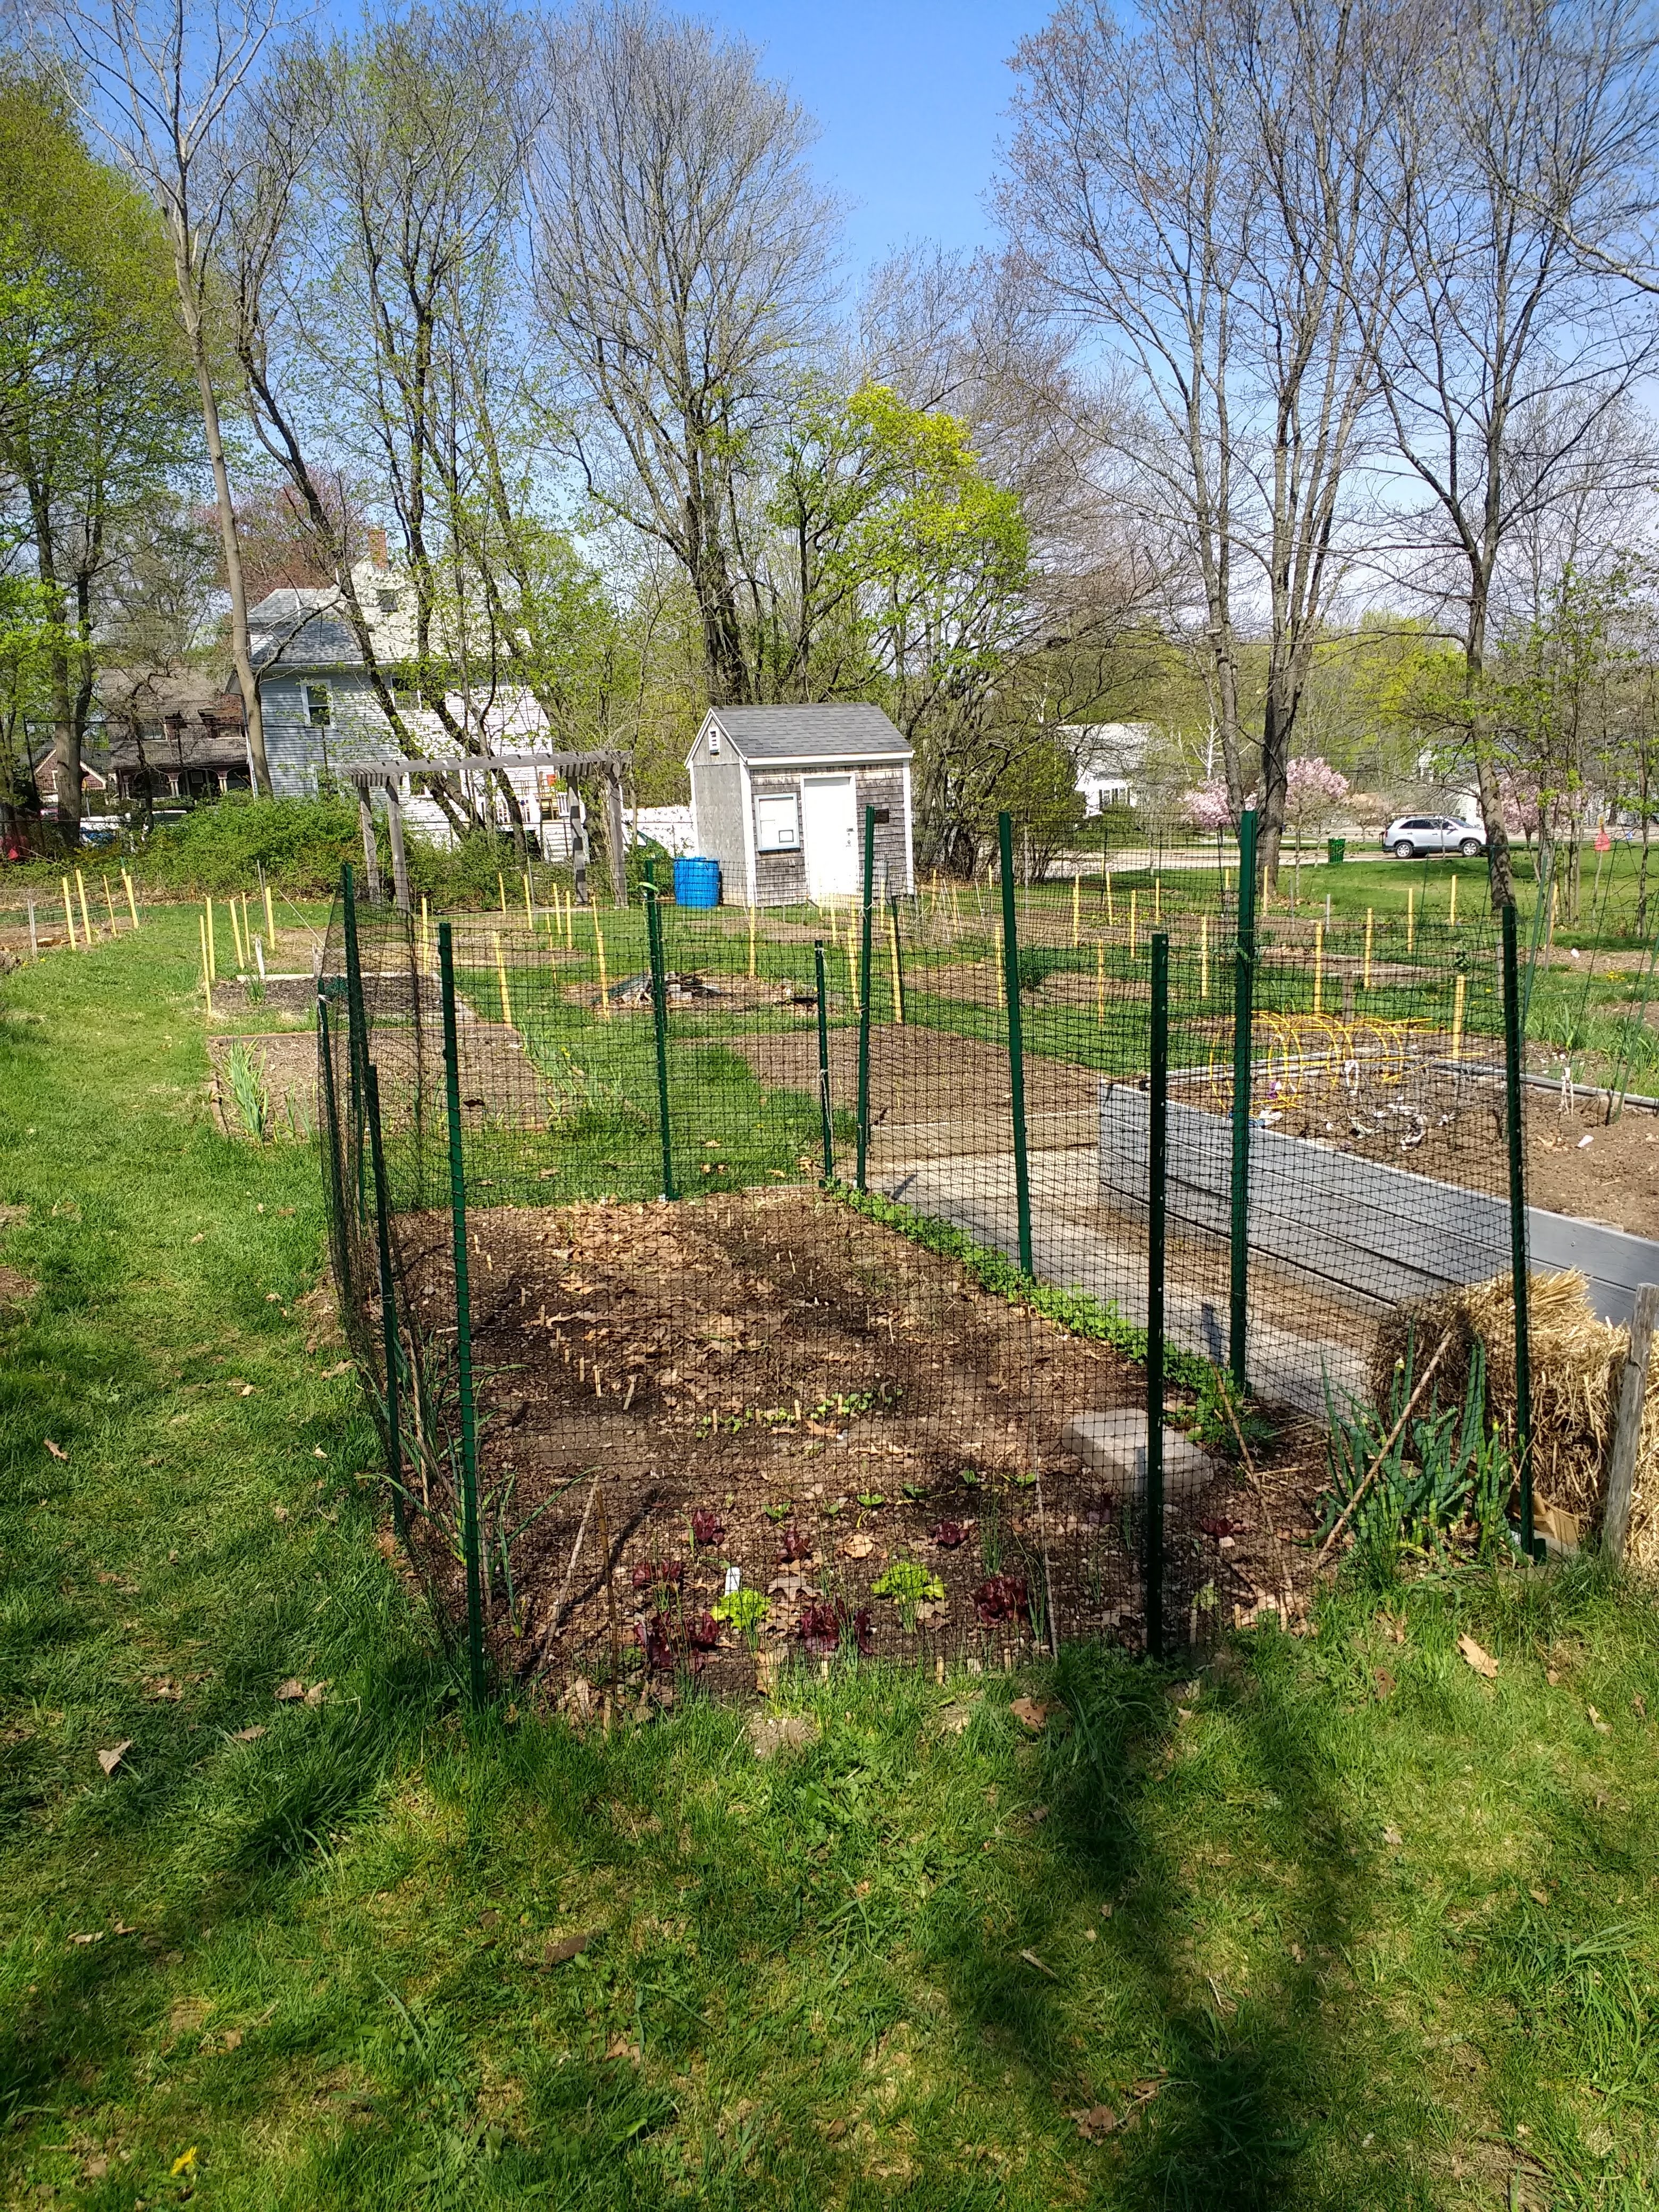 Jun (plot 24) and I (plot 30, photo right) used this product by Tenax with good success. At 4-feet tall, it’s an easy jump for deer, but I’ve read that deer don’t normally like to jump into enclosed spaces as small as our gardens. For extra measure, I put a few obvious tomato cages inside my plot to clutter up the landing zone.
This product is sturdier than the netting described below, but not really sturdy enough to support vines such as cucumbers. I installed it using 60-inch u-posts, slipping the fence onto the hooks on the posts as I wrapped it around the garden.
Pros: Sturdy. Should last a few years. Relatively easy to install; I was able to do it myself. Most difficult part for me was pounding in the u-posts. Allows easy access to gardens–just unhook the netting from the posts. (The whole garden can be opened quickly and easily.) Even though it’s thicker than the deer netting below, it’s still unobtrusive and doesn’t cast significant shade. Can also be purchased in 7′ x 100′ rolls, enough to keep out jumpers from two garden plots.
Cons: Costs about $24 for the netting plus $27 – $45 for 6 – 10 u- or t-posts. Not a good choice for folks who don’t want to go to the trouble of installation or who don’t like enclosed garden spaces. Not tall enough to prevent jumpers or “leaner-overs.” The 7′-tall fencing will need sturdy, more expensive posts to be installed properly.
Available at: Lowes in Weymouth and on Amazon.
Fence Option 2: Deer/ Wildlife Netting
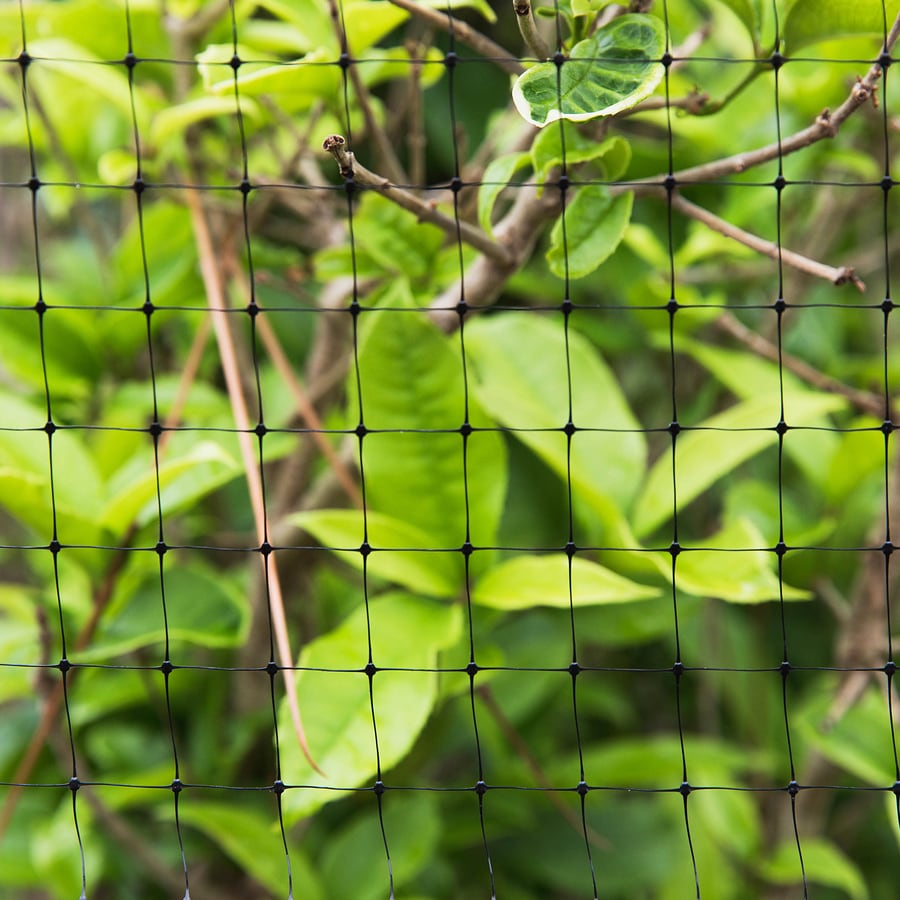 A few gardeners used a product like this one, which is finer and less stiff than the multi-purpose netting above. They installed it using bamboo or green plastic garden posts, attaching the fence to them with twine, zip ties, or tomato Velcro. I’ve also seen recommendations to hook the netting onto nails, screws, or cup hooks fastened to wooden garden stakes, which then could function a lot like the netting above.
Pros: Tall enough to keep the champion jumpers out. Reusable. Lightweight and unobtrusive. No problems with product casting shade. Depending on how it’s installed, it can be removed easily if you need better access to your garden for maintenance, etc.. The cost of the netting itself is reasonable, around $20.
Cons: Must be secured properly. Potential tripping hazard. Does a number on our lawnmower. Ideally, should be marked with flagging tape so deer see it and don’t blunder into it. Could be chewed or torn. A little fiddly to use. Best installed with a second set of hands. To make full advantage of the height, you need tall support posts, which may cost more than the netting itself.
Barrier Cover: Bird Netting
Bird netting is similar in weight to the wildlife netting above, but sold in dimensions that allow you to drape it over large sections. This option is a good, inexpensive one if you want to protect certain plants or sections of your garden.
Pros: Perhaps the least expensive option. Allows you to section off areas of your garden, leaving open access to other areas.
Cons: Like the wildlife netting, it’s fiddly to use. Must be secured properly! (I used clothes pins, attaching the netting to twine stretched between stakes.) Potential tripping hazard. Gets tangled in our lawnmower. Depending on how it’s installed, can make garden access annoying. Your plants won’t like bumping up against it, so your netting supports have to be taller than your plants at full height.
Available at: Lowes in Weymouth and Home Depot in Quincy. (See photos below.)
Final Thoughts…
Repellents, fencing, or cover netting…there’s no perfect solution here, but we managed to find a few workable options that allowed us to recover last summer. Pick the one that works best for you and go for it–early in the season. It’s better to set up your repellents and barriers as soon as possible, before deer get a taste of the good stuff in your garden.
Happy gardening, everyone!

 Heirloom varieties are often considered tastier and are a must if you want to grow
 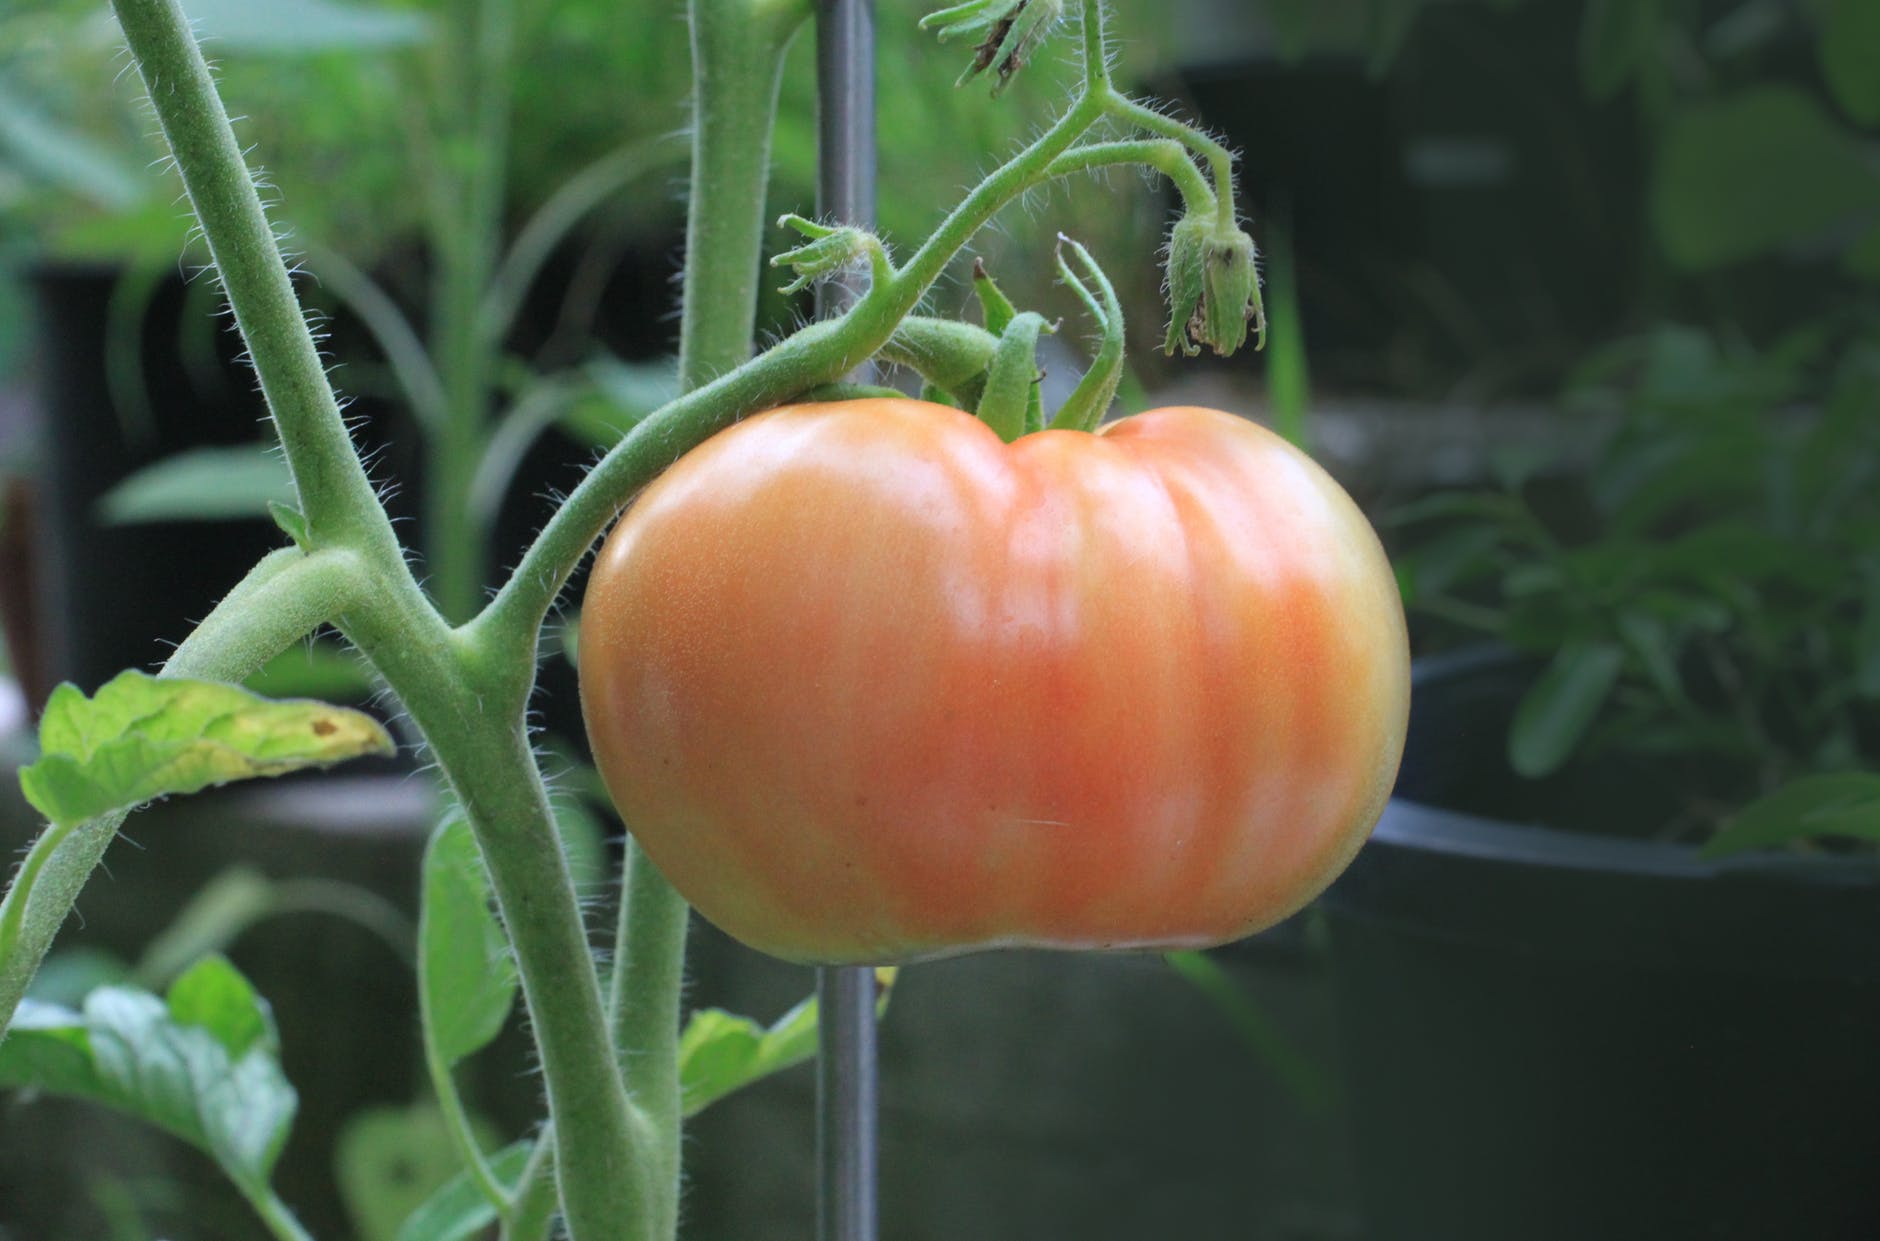 For tomatoes in particular, consider whether your plants are determinate or indeterminate. Determinate tomato plants produce tomatoes all at once, which means you’ll have a lot of tomatoes to eat and process in a big batch. Indeterminate tomatoes grow and produce indefinitely. For a steadier flow, read estimated maturation dates carefully. A mix of varieties can spread out your tomato harvest.

