Getting Started at PPCG (Part 6): Maintaining Your Garden

After you’ve planted, you might be surprised by how much attention your small garden will require, sometimes on a daily basis. You’ll also be surprised by how much it yields if you put in the effort.

Watering

Those baby seedlings and transplants can’t be abandoned; one hot dry day will do them in. Once they’ve been established, you’ll grow healthier, stronger plants by watering less frequently and more deeply, which encourages root growth beyond the surface of the soil. See more Watering Tips.

Mulching

The benefits of using mulch in your garden include:

  • regulating soil temperature
  • maintaining moisture
  • suppressing weeds
  • adding organic matter to your soil
  • protecting crops from soil-born diseases that can be splashed onto your plants when you water

Types of organic mulch include straw, salt hay, wood chips, seaweed, chopped leaves, buckwheat hulls, stubble-harvest-straw-agriculture-158198.jpegand grass clippings. But take note:

  • Leaves can form a matted, water-resistant barrier if they are not chopped or composted first.
  • And thick layers of grass clippings can turn into a stinky, slimy mess.

In addition, some gardeners like using plastic mulch.

Keep the mulch away from the base of your plants. I usually put down mulch in my walking paths first, then fill in with more mulch closer to my plantings as they get established. The goal is to smother weeds, not your plantings.

Last summer, I applied a thick layer of newspaper topped with wood chips. The worms loved it. Most newspaper dyes are okay; check if you’re not sure. The Boston Globe, for example, offers this info. I’ve also heard that lawn refuse bags make great weed barriers.

Gary makes use of free seaweed, collected from beaches. Louise (plot 25) favors buckwheat hulls. And I noticed that Marie (plot 11) uses salt hay.

We do not use the composted leaf mold offered for free by Braintree because we cannot guarantee that the product is free of chemicals and other unwanted matter. For this reason, we’ve started our own leaf compost pile in our garden.

Fertilizing

It’s difficult to talk about fertilizing without knowing your soil, so here’s one more pitch for getting your soil tested. Before throwing down any fertilizer, if you know exactly what your soil needs, you won’t be making blind guesses that can be detrimental to your garden, the environment, and your wallet.

Depending on the needs of my garden at the time, I’ve used products like Garden Tone, composted manure, blood meal, bone meal, kelp meal, and compost from my home composter.

Want more information about organic fertilizers? Here’s a good place to start.

Pests and Diseases

Heads up, gardeners: the deer are active at PPCG this spring.

I’m not sure there’s much we can do to protect ourselves from determined deer because we cannot exclude them with tall fencing around our garden perimeter. In this case, it’s helpful to think more in terms of deterrents and “acceptable losses.” On a more positive note, I will also say that in every year I’ve gardened at PPCG since 2010, I’ve always harvested more than I’ve lost.

In the past, I’ve sprinkled my plants with cayenne pepper and dangled old CDs from

string around the perimeter of my garden. I’ve seen other gardeners use pinwheels. And Louise (plot 25) has covered her lettuce and pea shoots with bird netting (available at Home Depot). If you notice forks growing out of Gary’s plot, it’s because he’s hoping the sharp tines will deter rabbits. With all of these efforts, there’s not much to lose except a little bit of our time.

IMG_20180423_075227139.jpgThis year, I tried inter-planting lettuces with bunching onions and bordering my garden with shallots, leeks, and garlic. Maybe the scent of allium will deter rabbits and deer from chowing down on my lettuce. It’s worth a try, and if nothing else, this particular inter-planting makes good use of space. (Update: the deer did, indeed, skip over my lettuce, but chowed down on a perennial flower and trampled carrot seedlings. I counted myself lucky he didn’t eat the peas and decided, not without pause, to install a fence around my plot. He can still jump over or wiggle under the 4′ plastic mesh–and if he does, he’s going to cause a lot of damage–but at this point, if he gets my plantings, he’s earned them.)

Want some more ideas for deterring wildlife? Try here.

Regarding insect pests and diseases, we have a new gardening resource (stored in the shed) that will help us identify them in our garden. It’s also available here online.

  • Consider using hybrid plants as a front-line defense against common diseases.
  • If you have any diseased plant material, please bag it up and remove it from our site to protect other gardeners.

Specific insect problems at PPCG

  • Vine borers have plagued some of our squash crops.
  • Some of the gardens along the treeline bordering the park have been affected by winter moth caterpillars dropping from the trees overhead. If you garden in one of these spaces with trees favored by this caterpillar, you may want to use row covers over your leafy greens until their season passes. Remember to remove the covers if you have plants that need to be pollinated.
  • In 2017, we also had a localized infestation of earwigs, which the gardeners controlled with a trap (buried bottles filled with oil and soy sauce).
  • If you notice that one or more of your plants looks like it’s been snapped off at the base, you may have cutworms. There’s a simple remedy for cutworms, but you have to act before they do their damage. See the following fact sheet link.

Here’s a good fact sheet with more info on general insect management and here are more fact sheets on specific pests, but please remember that we do not permit synthetic products.

Happy gardening, everyone!


In case you missed it…

Part 1: Organic Gardening and Soil

Part 2: Our Growing Season and Gardening Resources

Part 3: Garden Design

Part 4: Plant Choices and Sources

Part 5: Planting

Getting Started at PPCG (Part 5): Planting

Before you dig, check to see whether your soil is ready to be worked.

Working your soil when it is too wet creates big clumps, air pockets, and compacted areas.

Consider whether a no-till option will work well in your plot. (Again, see link above.)

Rockspexels-photo-634548.jpeg

Some of our plots have a fair amount of rocks that you’ll want to remove before you plant. Please do not pile them at the edge of your garden, where they are hazardous when we mow; instead, use a bucket from our compost area to collect and discard them in the brush behind the composters.

For tips on planting seeds and transplants, see this tip sheet from UMassAmherst.

Your seed packet or plant tag will also have information on how to plant and space. If you are purchasing seedlings, ask if they’ve been hardened off. (See tip sheet for more info on hardening off.)

After you’ve planted, your garden will probably look sparse, but remember that your plants need room to grow and will fill in quickly. Every year I’m amazed by how different my garden looks at the end of the season.

Intensive gardening involves techniques that maximize yields in a given space.

Before I say anything else on this topic, I’ll mention first that intensive gardening requires a lot of planning. If you are just starting out in the garden, you may do better your first season by keeping things simple and planting with traditional guidelines.  

Traditionally, crops are planted in straight rows with ample spaces between plants and rows. Most of the information that you’ll see on your seed packets and plant tags relies on traditional spacing guidelines. In many cases, you can fit more plants in your space than these guidelines indicate.

Certain plants in particular can handle some crowding. Peas, carrots, and radishes, for example, can be planted in bands, with rows of staggered seeds. My seed packet of Mini Mak radishes from Johnny’s instructs, “Sow in 2-3″ wide bands or single rows, seeds about 3/4 – 1″ apart (about 35 seeds/ft for bands and 15 seeds/ft. for single rows).” Based on this info, you can see how much more you can grow in a given space.

One of the simpler ways to make efficient use of our small plot area is to grow vertically. Consider growing pole beans, for example, instead of rows of bush beans

Another intensive practice includes successive plantings, which means harvesting one crop and immediately following with another. You might follow an early carrot harvest with a planting of bush beans. Or you might follow one harvest of bush beans with another. Interplanting involves fitting one crop within another’s space. Quickly-maturing radishes, for example, might be fitted among carrots and harvested first, freeing up space for the still-growing carrots.

Some plants don’t respond well to crowding. Tomatoes, for example, require a lot of space and are susceptible to diseases if not given adequate air flow. They’ll yield more if they are given sufficient room to spread. Still, you can maximize the number of tomato plants you can fit in an area by planting them in staggered rows.

Companion Planting

Companion planting is the idea that certain plants grown in combination with each other yield benefits. There is very little science backing up most companion- planting claims. For example, I often see the advice to plant marigolds as a pest deterrent, when in fact, there’s very limited evidence backing up this claim. Worse, in my own experience, marigolds draw Asiatic garden beetles, which strip both the marigolds and my basil plants. That’s not to say you shouldn’t plant marigolds if you like them or have had positive results with them in the past. There simply isn’t enough research to recommend them broadly as a pest deterrent.

Another popular example of companion planting is known as “Three Sisters.” In this case, corn is planted with pole beans and squash. The corn offers structural support for the climbing beans. Beans provide nitrogen for the heavy-feeding corn. And squash provides shade to help keep the soil moist.

Want a few other companion planting ideas? See this link.


Continued…

Part 6: Garden Maintenance

In case you missed it…

Part 1: Organic Gardening and Soil

Part 2: Our Growing Season and Gardening Resources

Part 3: Garden Design

Part 4: Plant Choices and Sources

Getting Started at PPCG (Part 4): Plant Choices and Sources

PPCG is an organic garden, but you do not need to grow seeds and seedlings labelled “organic” for your plots. Choose organic plants if you want to support sustainable agricultural practices and don’t mind paying a little extra for them.

As you are deciding what to grow, also consider…

What do you like? What will you enjoy harvesting from your garden?

You’ll get the most from your garden if you grow plants you enjoy. Myself, I have an ambivalent relationship with kale. It grows easily and early, before almost anything else. But by mid summer it’s still producing and taking up space and getting a little tough. Really, it’s okay to “edit” your plot. Avoid the “kale trap.” It’s your plot to enjoy.

Is the plant or seed labelled heirloom, open-pollinated or hybrid?

pexels-photo-432793.jpegHeirloom varieties are often considered tastier and are a must if you want to grow to save seeds. By growing heirloom and open-pollinated seeds, you’ll be helping to maintain genetic diversity. On the other hand, hybrids can offer greater ease because they are often bred to overcome problems such as common diseases. Check out this article from the L.A. Times on heirloom vs. hybrid tomatoes.


What’s the level of difficulty for a particular plant?

Here are a few challenges and successes we’ve had at PPCG:

  • Cabbage is tricky to “head up.”
  • Broccoli bolts to seed readily in warm weather, before anything is harvested and takes up a lot of space.
  • Corn is another space hog that yields little.
  • Squash is prone to powdery mildew and vine borers.
  • Peppers, tomatoes, eggplant, zinnias, bunching onions, peas, green beans, and lettuces and other salad greens are all fairly easy crops that have good yields in our gardens.

How quickly will your plant mature?

There is a wide range in time until harvest among varieties of the same type of plant. Especially if you are planning to try to fit in successive plantings, you may want to choose a variety that matures quickly.

tomato-food-nutrition-plant-161554.jpeg
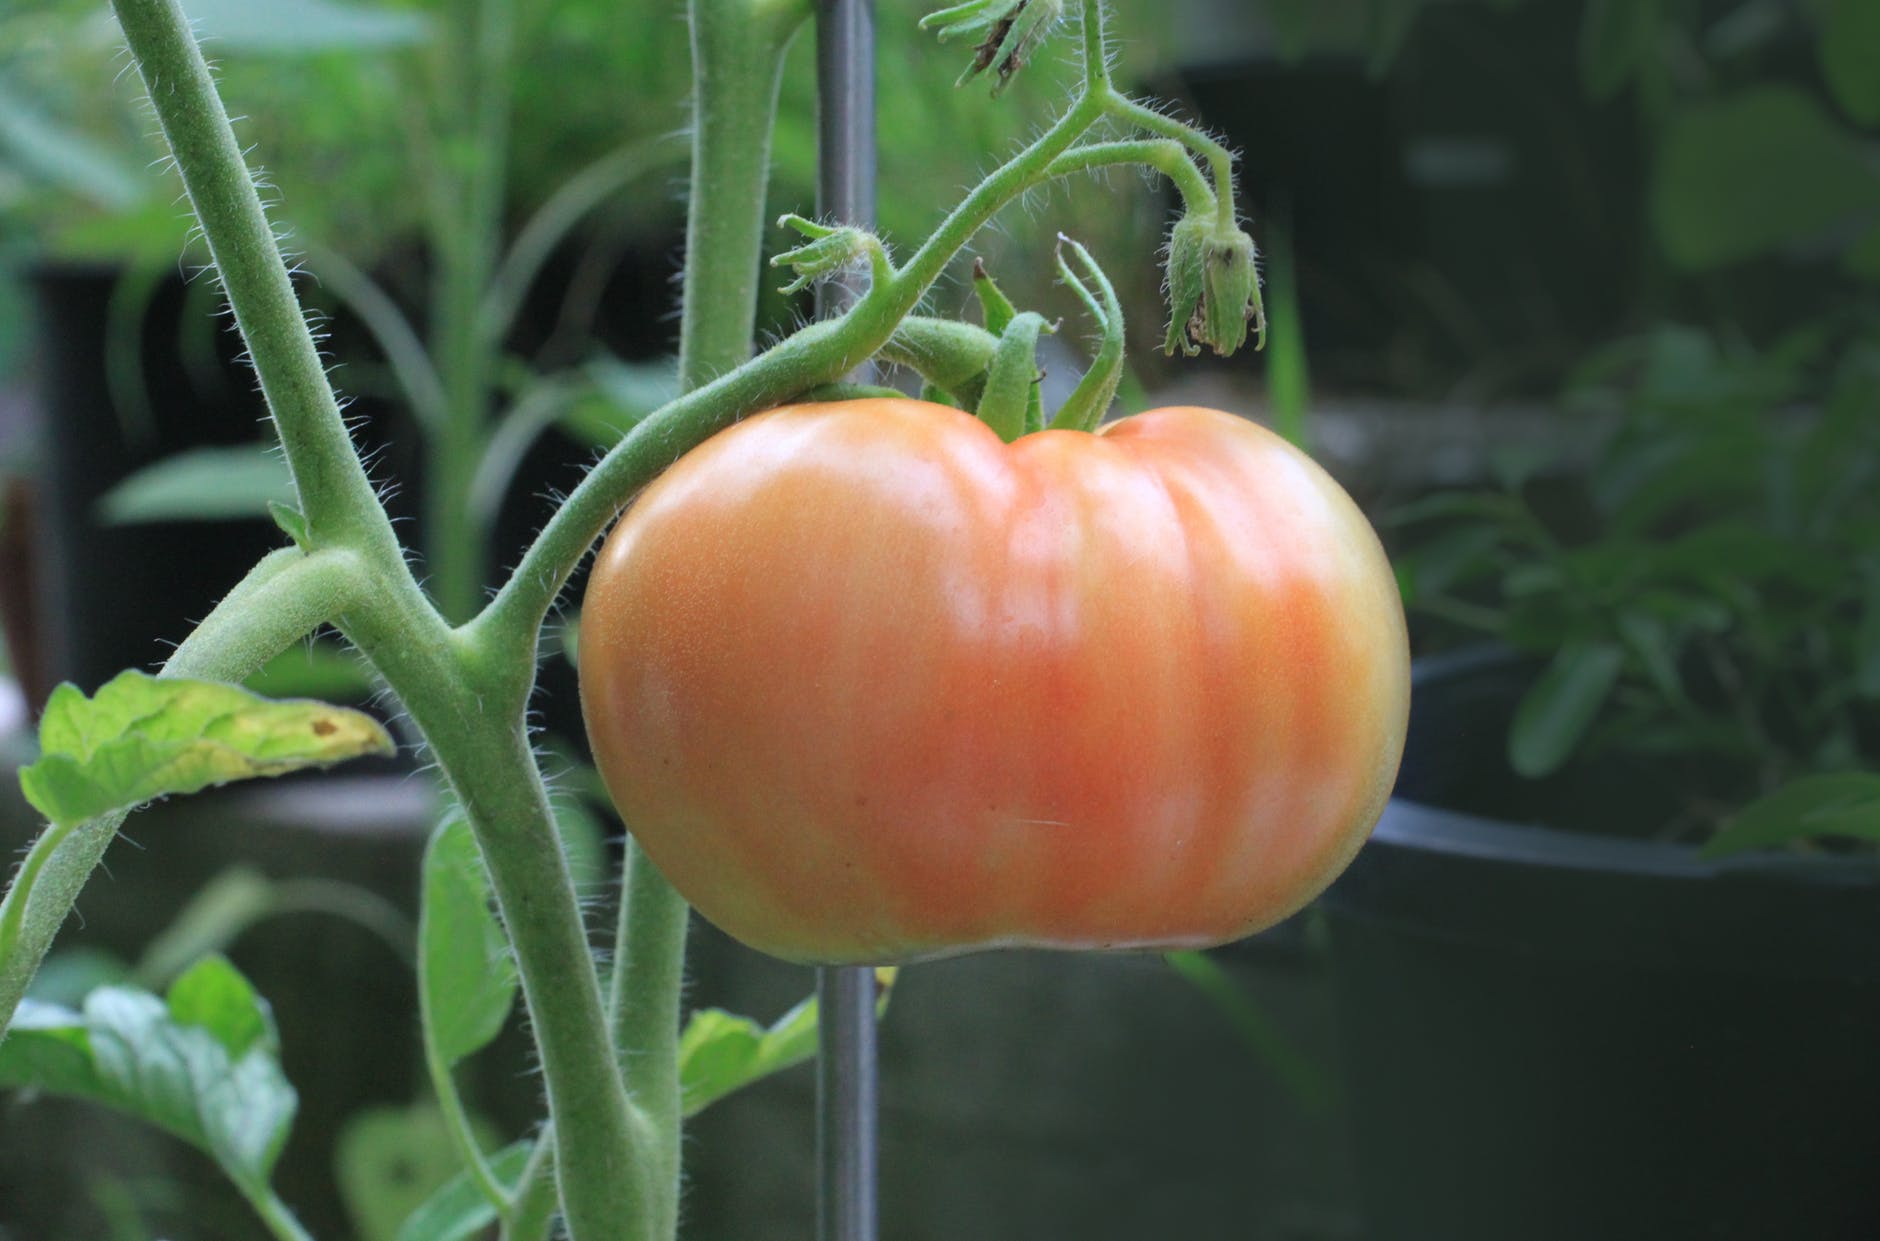
For tomatoes in particular, consider whether your plants are determinate or indeterminate. Determinate tomato plants produce tomatoes all at once, which means you’ll have a lot of tomatoes to eat and process in a big batch. Indeterminate tomatoes grow and produce indefinitely. For a steadier flow, read estimated maturation dates carefully. A mix of varieties can spread out your tomato harvest.


Seeds or Seedlings?

A number of crops grow much better when directly sown by seed in the garden. Root crops such as carrots, radishes, turnips, and beets are good examples. Crops such as zucchini and beans can be transplanted, but often do better or grow quickly enough that they can be sown directly in the garden.  Other crops such as tomatoes, eggplants, and peppers require a long growing season and should be started indoors before being planted out in the garden when warmer weather arrives. Read your seed packets for recommended growing information.

For ease, most of our gardeners buy plants from nonprofit organizations and garden centers that are ready for the garden. See below for resources.

Where to buy? Our gardeners have a few favorites…

For seeds, our gardeners like Johnny’s Selected Seeds, Seed Savers Exchange, Fedco, Burpee, Territorial Seed, and Baker Creek, to name a few. Find more resources on seed growing here on our blog.

For organic products, try Gardens Alive or Gard.in in Braintree.

For plants, watch for excellent plant sales at Holly Hill Farm (especially their wide selection of tomatoes, organically grown!), Brookwood Farm, City Natives in Boston, Southside Community Land Trust in Providence, and Marshfield Agricultural Commission.

Or check out garden centers such as Christopher’s (across from BJ’s in Weymouth on Rte. 53), the plant stand on Southern Artery in Quincy (in the Goodwill parking lot), Almquist in Quincy, Kennedy’s in Scituate, or for further afield, try Peckham’s in Little Compton, RI. Do you have other favorites? Let us know!


Continued…

Part 5: Planting

Part 6: Garden Maintenance

In case you missed it…

Part 1: Organic Gardening and Soil

Part 2: Our Growing Season and Gardening Resources

Part 3: Garden Design

Getting Started at PPCG (Part 3): Garden Design

Whether you can visualize your garden’s design in your head or you need to sketch it on paper, it’s a good idea to plan your garden before you plant! I like to use graph paper to help me keep everything to scale and remind myself just how much I can (and can’t) fit in a 6′ x 12′ plot.

Electronic garden planners–some free and others free for a short trial–are also readily available. This spring, for example, I tried out the Old Farmer’s Almanac garden planner, which offered plenty of bells and whistles, such as month-by-month planning for successive crops. After a one-month trial, I ended up not subscribing to the service because I was frustrated by specific ways that it didn’t allow me to individualize my plan. Still, it’s definitely worth a try if you work well with computerized planning.

Think about sun and shade at Perkins Park

We have some shade to deal with at Perkins Park, but it isn’t always a bad thing, especially for crops that thrive with a little break from the sun.

The sun rises on the side of our garden opposite the shed and sets roughly behind the shed. Expect the shade to shift throughout the season and to broaden as leaves grow on the trees around us. In late summer and into fall, the garden beds on the southern edge (the side with our composters) get heavy shade through a large portion of the day because the sun remains lower in the sky. For a rough idea of spring sunlight hours, here’s a light/shade map of our garden.

summer-sunflower-flowers-sky-54459.jpegWithin your garden, think about which plants will grow tall and shade other plants.

Tomatoes and plants grown on trellises, for example, will cast broad shade, which may or may not be desirable depending on the plants you are growing near them. For optimizing sunlight, the best place to put the tall plants is along the northern edge. Please note we have a six-foot height restriction for structures and plants.

Consider which plants can tolerate shade more than others.

Here’s a handy chart to use as a guideline, but always be sure to read up on your plants’ growing information.

Plan where you are going to place pathways, supports, and barriers.

Knowing where you are going to walk will help you gain access to all of your garden and minimize compacting your soil.

Supports such as tomato stakes and trellises should be installed before or at the time of planting.

It sounds obvious, but from my own experience, here’s another important tip: if you are planning on installing barriers to keep out deer, make sure that you can still have ready access to your garden.


Continued…

Part 4: Plant Choices

Part 5: Planting

Part 6: Garden Maintenance

In case you missed it…

Part 1: Organic Gardening and Soil

Part 2: Our Growing Season and Gardening Resources

Getting Started at PPCG (Part 2): Our Growing Season

Our growing season is short here in New England, which means that if you want to fit in a few successive crops, you have to plan carefully. You can try to extend your growing season by using tunnels and other frost protection. These lettuces that I planted out on April 1, our opening day at PPCG, survived a few bouts of temperatures down in the 20s under a grow tunnel.IMG_20180423_075227139.jpg

Other plants like tomatoes can suffer setbacks, if they survive at all, for the rest of the growing season if they’re exposed to cold temperatures.

Take a look at this handy chart from URI for a guide on when to start specific crops indoors or plant them out in the garden. URI bases their chart on a final spring frost date of May 15, which is a good guide for us as well.

Cool season crops, planted in spring, include onions, leeks, chives, lettuces, spinach, kale, broccoli, and peas. These plants not only thrive in the cool weather, but in many cases won’t grow well in the heat of summer. Broccoli, for example, can bolt to seed before you harvest any florets if the weather warms before the plant has produced. Here’s a blog post with a more complete list and some growing tips.

Warm season crops include tomatoes, peppers, potatoes, cucumbers, corn, eggplant, melons, and squash. You’ll need to start these crops indoors (if you’re growing from seed) at around the time that you’re planting out your cool weather crops.

Check your plant tags and seed packets for growing information, paying careful attention to ‘Days to Maturity.’ Since our growing season is on the shorter side, think about selecting varieties that mature more quickly.   Johnny’s Selected Seeds is a great resource for growing information. Browse through their online information and request a catalogue. Seed Savers is another good resource. UMassAmherst offers a wide range of fact sheets.


Continued…

Part 3: Garden Design

Part 4: Plant Choices

Part 5: Planting

Part 6: Garden Maintenance

In case you missed it…

Part 1: Organic Gardening and Soil