Vegetable Gardening with a Heart and Mind for Nature
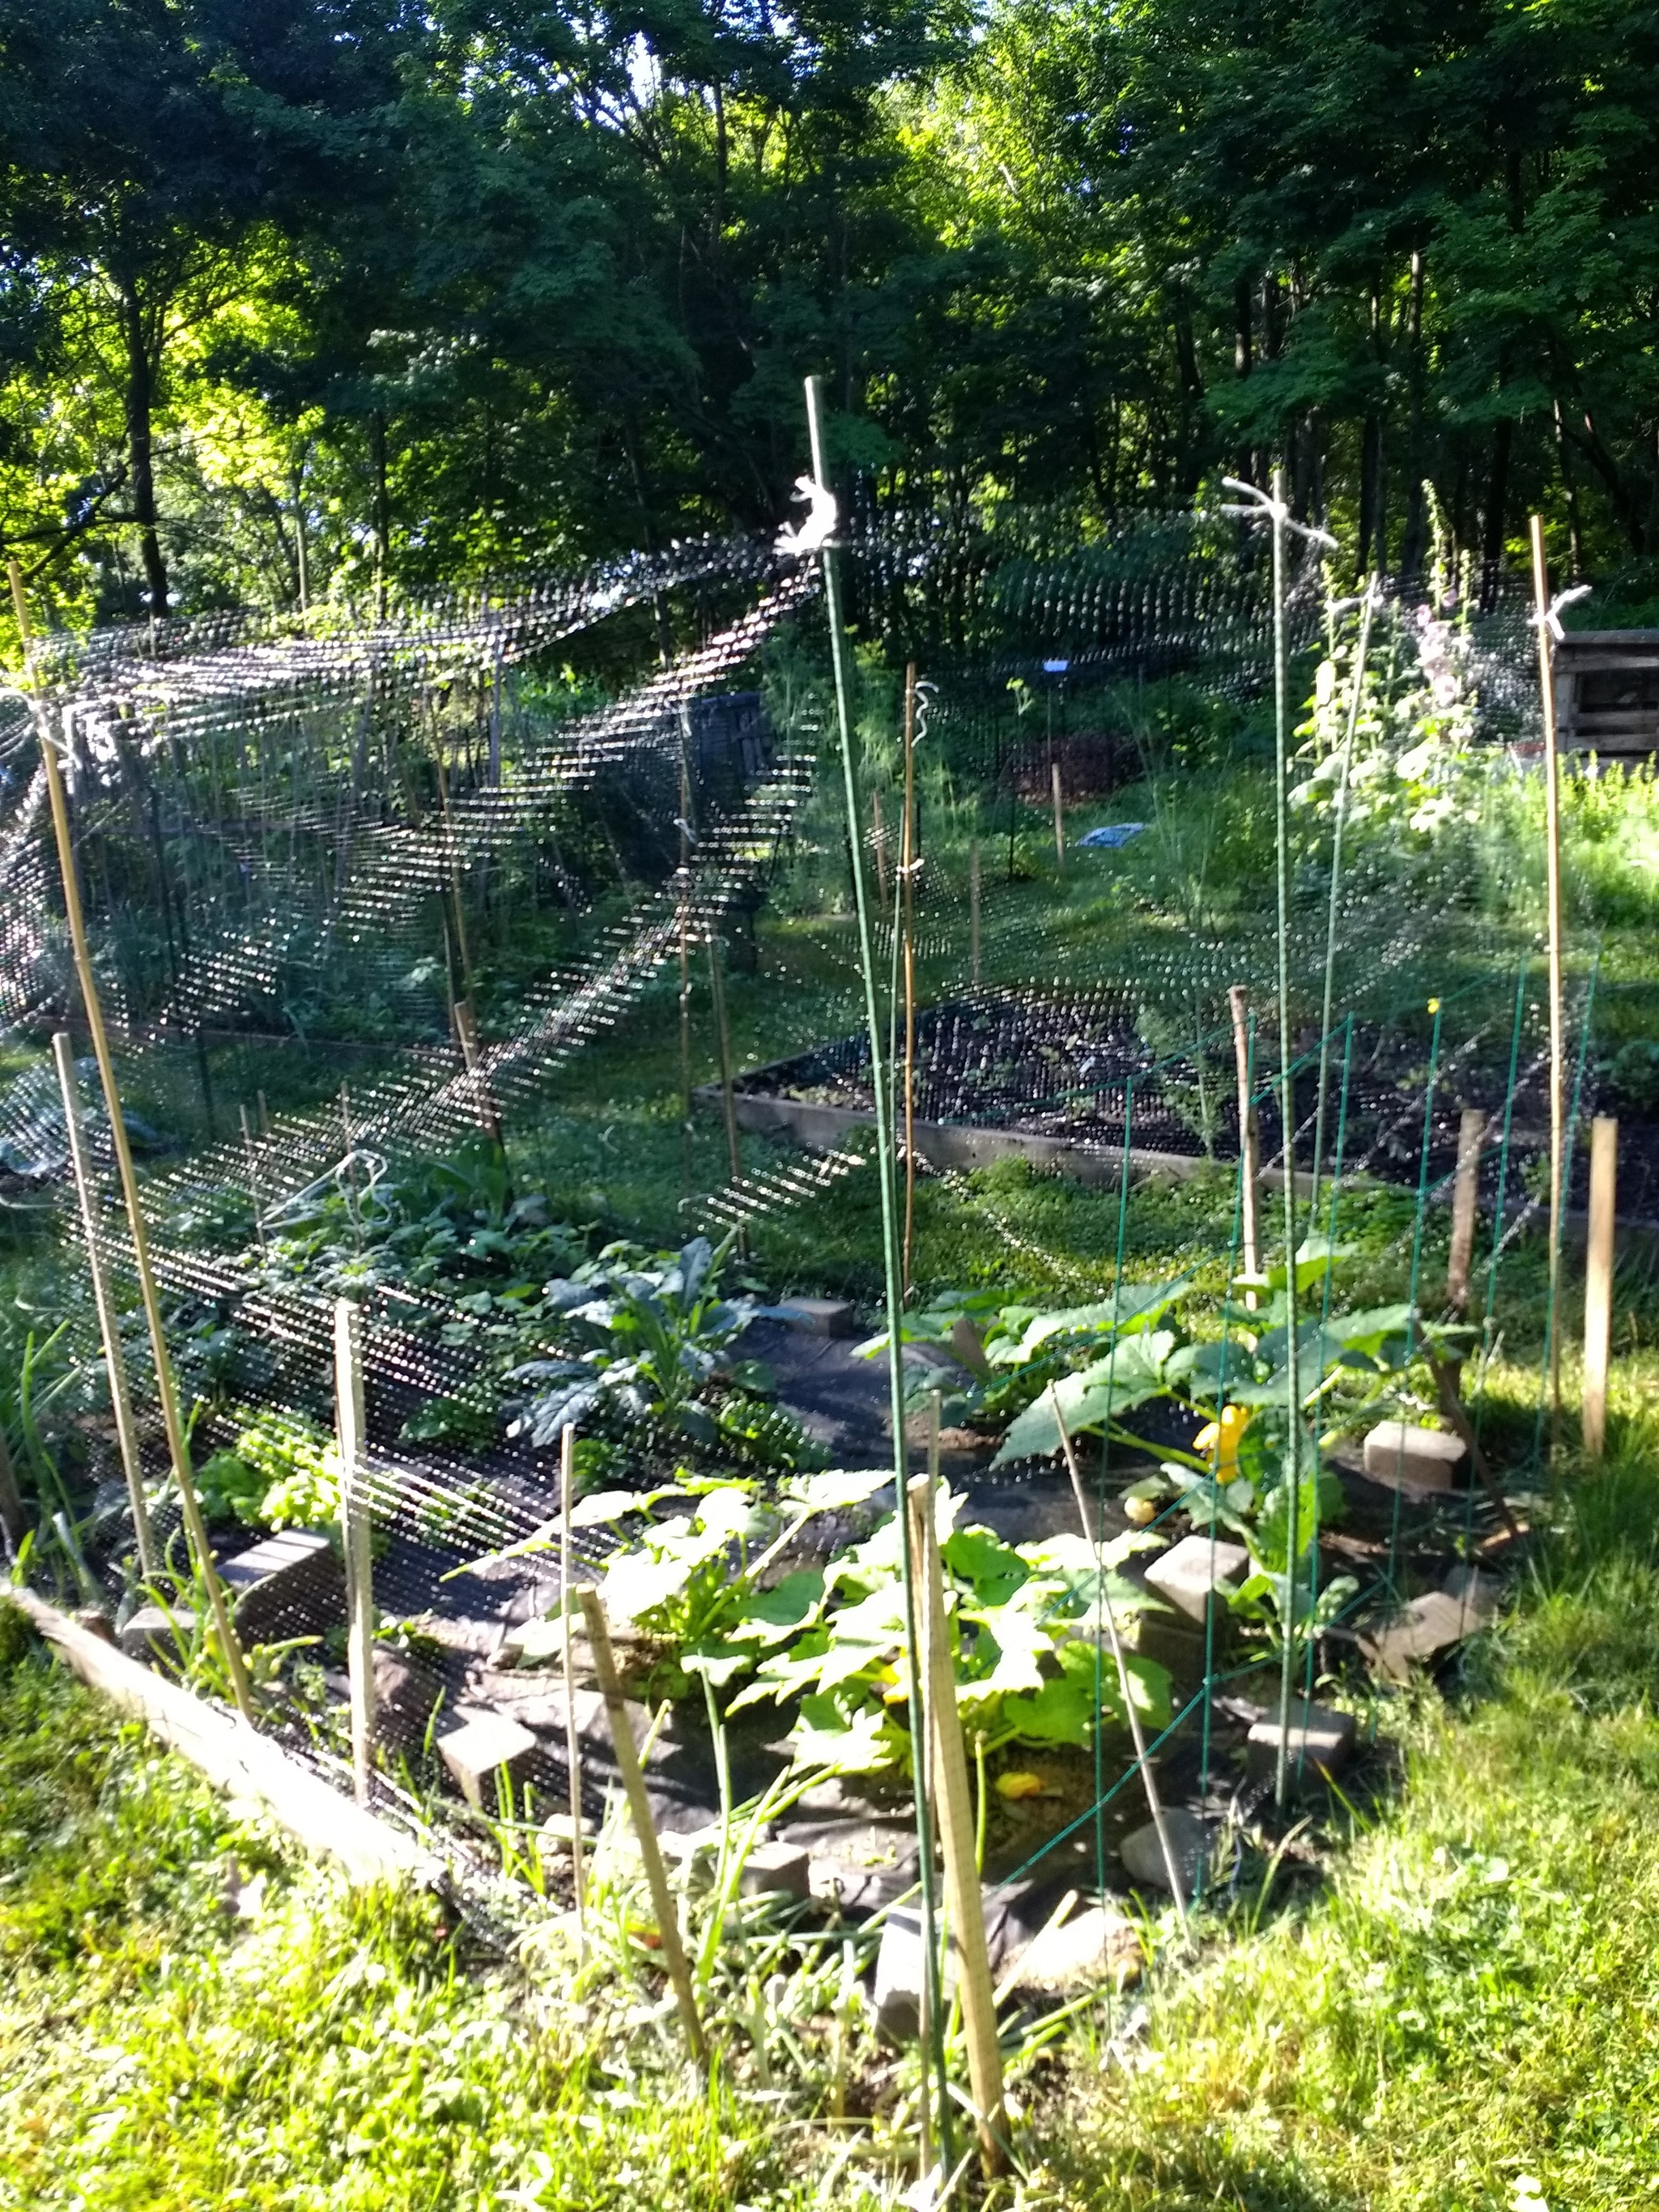
Perkins Park Community Garden is a cultivated space. We took a section of town land that had fallen out of human use, cleared the space, and set up 29 plots for gardening. The upside: twenty-nine gardeners every year get a chance to grow food, learn organic principles, and get in touch with nature among a community. Those benefits mean a lot to us gardeners, but there’s a downside as well. In creating our garden, we destroyed a natural ecosystem, from soil microbes to insects, birds, and so on up the food chain.
Our destructive human footprint is not unlike all of the lawns, parks, backyard gardens, manicured median strips, and other cultivated areas around town, all places that could benefit from rewilding. Even in a space where growing vegetables is the primary goal, there are steps we can take that cause less destruction and help support our local ecosystem.
Soil First. If you take good care of the soil, it will take care of your plants.
- Stop using synthetic chemical fertilizers such as MiracleGro, which don’t support your soil ecosystem and can run off, causing more widespread damage to the environment.
- Get your soil tested and opt for organic materials such as plant-based compost, worm castings, and composted animal manure. Organic granular and/or liquid fertilizers can be applied as needed. Many of our gardeners at PPCG use Espoma GardenTone or PlantTone or Neptune’s Harvest.
- Cover up! Use natural mulches such as straw, chopped leaves, wood chips, grass clippings, or even lawn refuse bags to protect your soil from erosion and add organic matter.
- Living roots feed your garden soil. Aim for (1) plant diversity and (2) keeping your garden planted for as long as your growing season will allow.
- Spare yourself back-breaking labor and build your soil by moving to low-till methods.
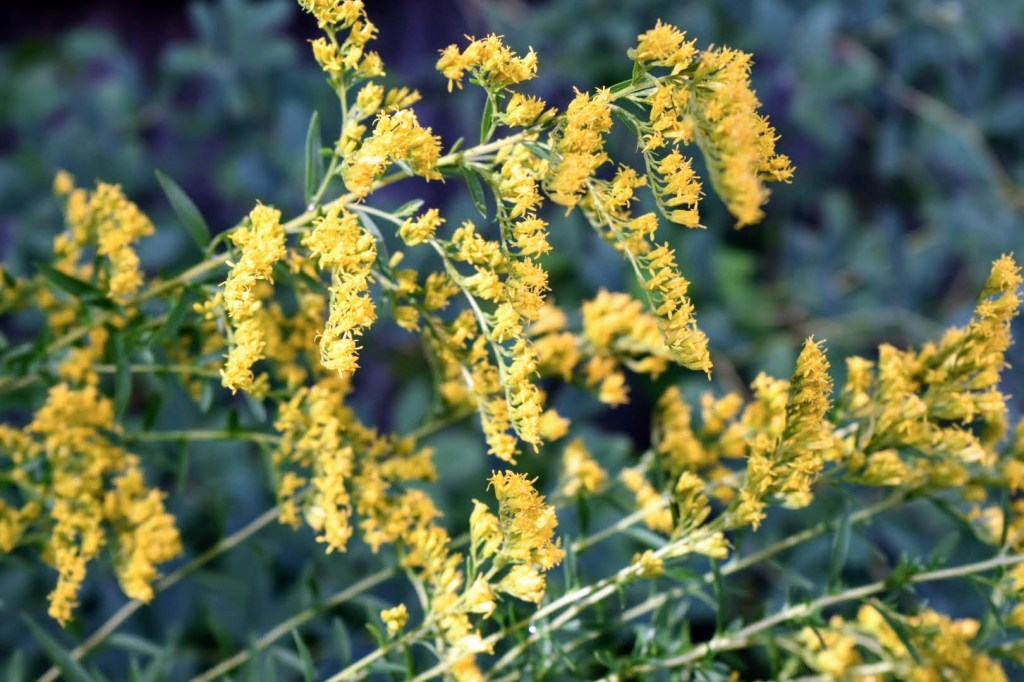
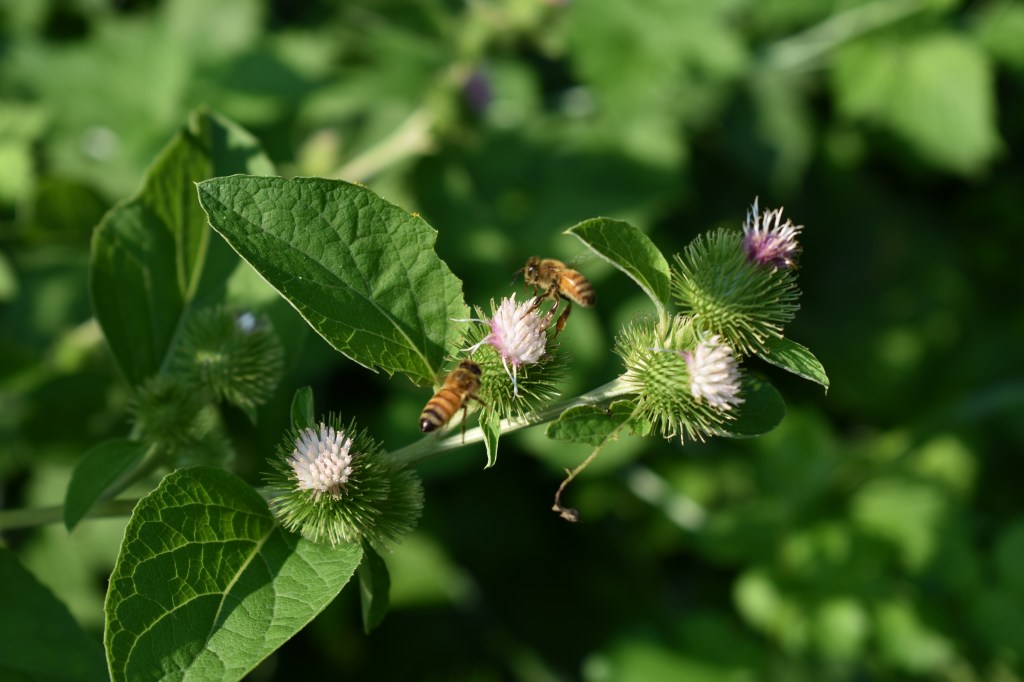
Share your space by planting for wildlife.

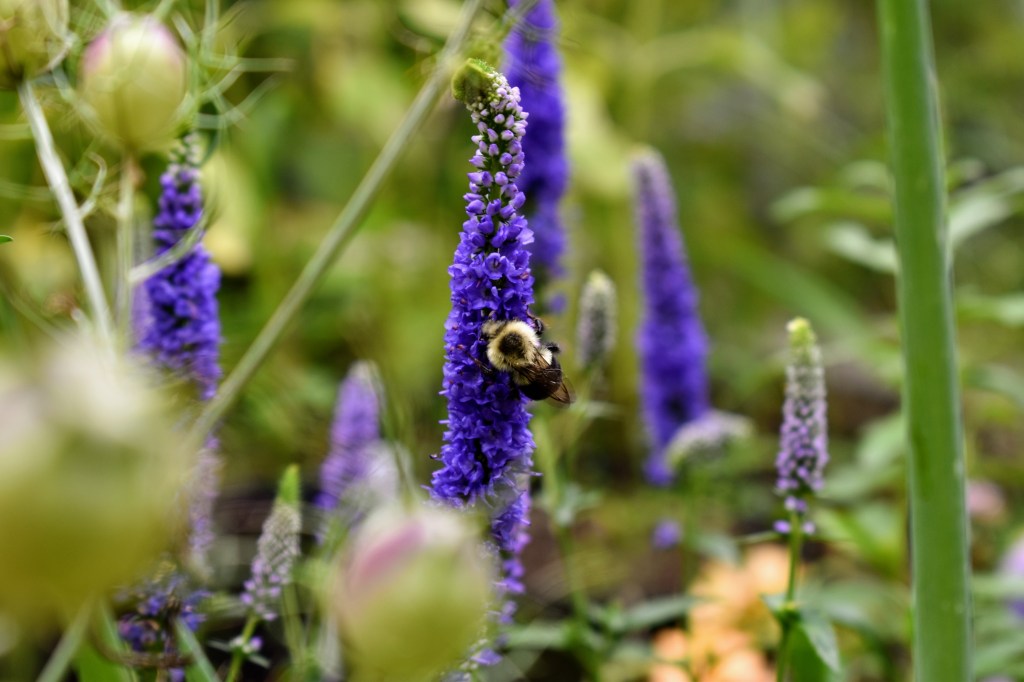
- Fit a few flowering plants among your vegetables. They’ll add beauty to your plot, plus the pollinators they draw may boost your veggie yield.
- Choose wisely–not all flowers have the same value, so look to get the most impact, especially if you have limited space. Zinnias are easy and popular with pollinators, but consider some native flowering plants as well, which may have greater ecological importance.
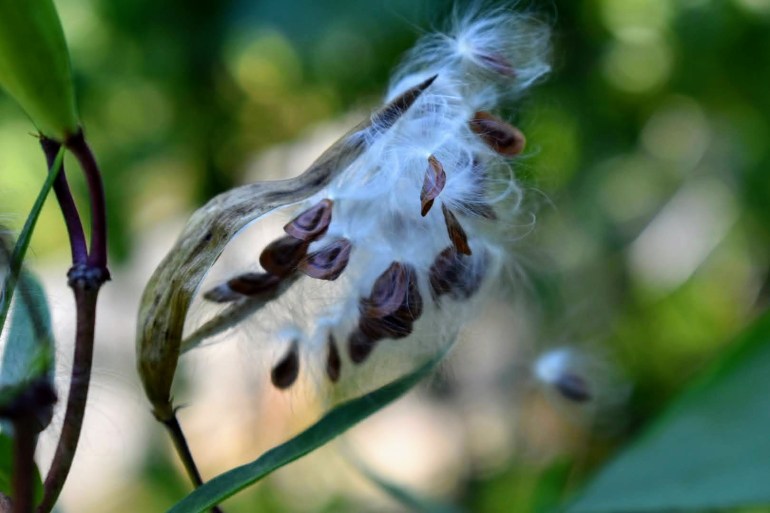
- The milkweed plant shown here provides complex benefits– from foliage to flowers to seed–for many levels of the food chain. So even though it flowers only a short time in late summer, its benefits are year-round, especially if seed heads are left in place at the end of the season.
- It can be difficult and a little tricky to know what will provide the most benefit to the local ecosystem. Rely on local nonprofits specializing in native plants (links below). Watch and observe your garden to see what’s popular and don’t be afraid to edit if you can add something of greater value.
Know your pests and tolerate some damage.
- It sounds obvious, but it’s still worth noting: planting for wildlife means that the plants may get eaten. That’s the point.
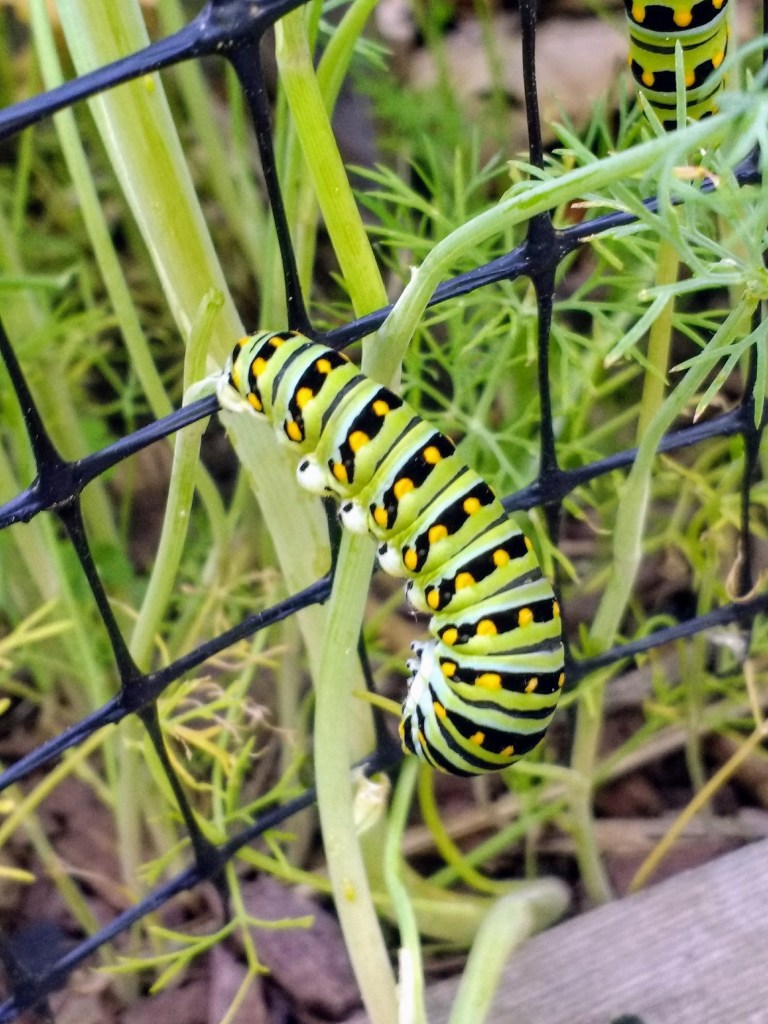
- One year my parsley was disappearing at an alarming rate. The culprit was this beautiful swallowtail caterpillar, which shown here, is feasting on dill. (Both parsley and dill, by the way, are non-native plants, but the swallowtail will eat them because they are close enough relatives of native members of the carrot family.) Plant a little extra and be happy they found a home in your garden.
- On the other hand, some pests should not be tolerated. The spotted lantern fly, for example, looks beautiful but can cause serious damage.
- Take time to identify the critters you find in your garden by relying on reputable resources, noted below.
- Control pests through the least harmful way possible by, for example, handpicking them or using row covers. Even organic pesticides can cause unintended harm to beneficial insects.
Know your weeds and pull them only as necessary.

- Do not immediately assume that a “weed” is a bad addition to your garden.
- Plants such as dandelion, purslane, and yellow wood sorrel–common ones at PPCG–can offer benefits. Some are edible for insects birds, and/or humans and protect your soil as well.
- It’s important to identify the weed and understand its growth pattern and potential benefits or harm. Resources are noted below.
- Weeds such as garlic mustard are more pernicious and should be given special attention to control them. Every spring we make an effort to pull the garlic mustard from the uncultivated areas around the plots.
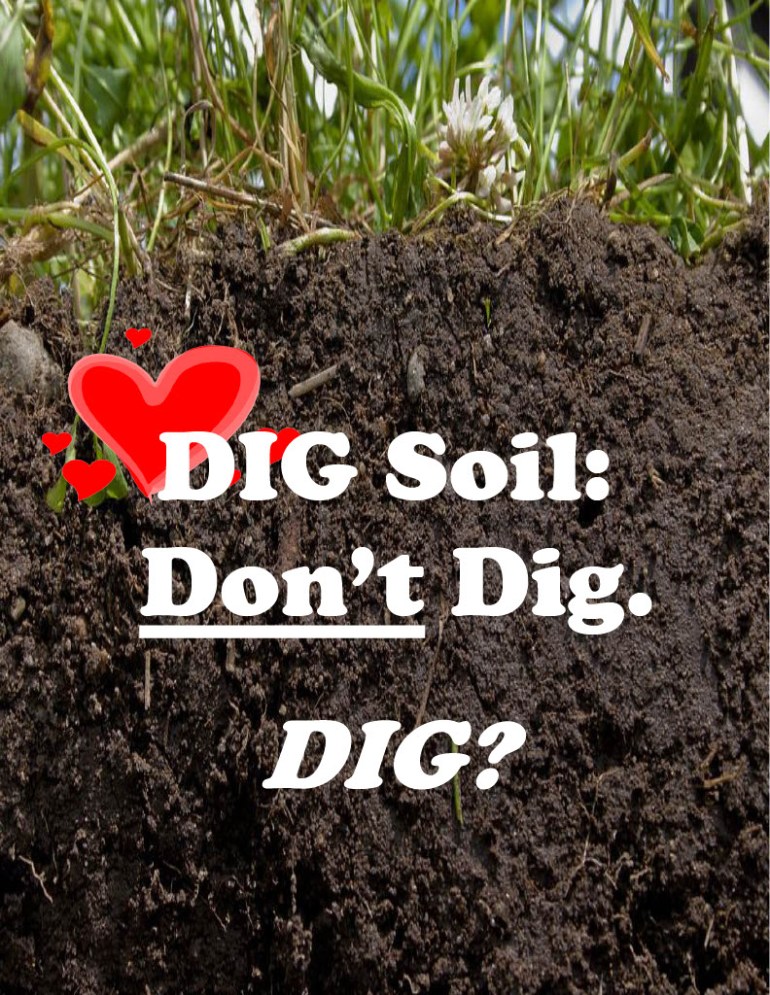
- Weeds in the garden bed can be controlled by using mulch and limiting digging and soil disruption, which brings seeds to the surface where they can germinate and grow.
Include native edible perennials in your garden. These are often low-fuss, high-yielding plants that provide benefit for you as well as the local ecosystem.

Groundnut, a vining plant with heavily-scented flowers in late summer. 
Sunchoke or Jerusalem Artichoke. Very low fuss plant that grows tall like sunflowers in late summer/early fall.
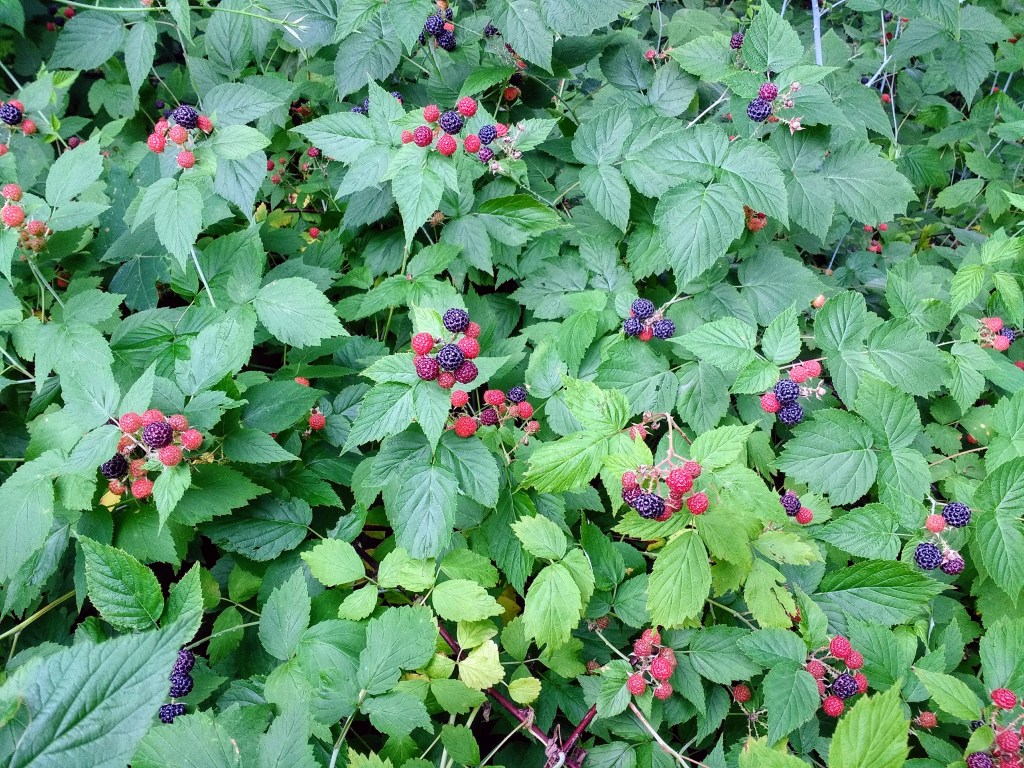
Rubus occidentalis, black raspberry 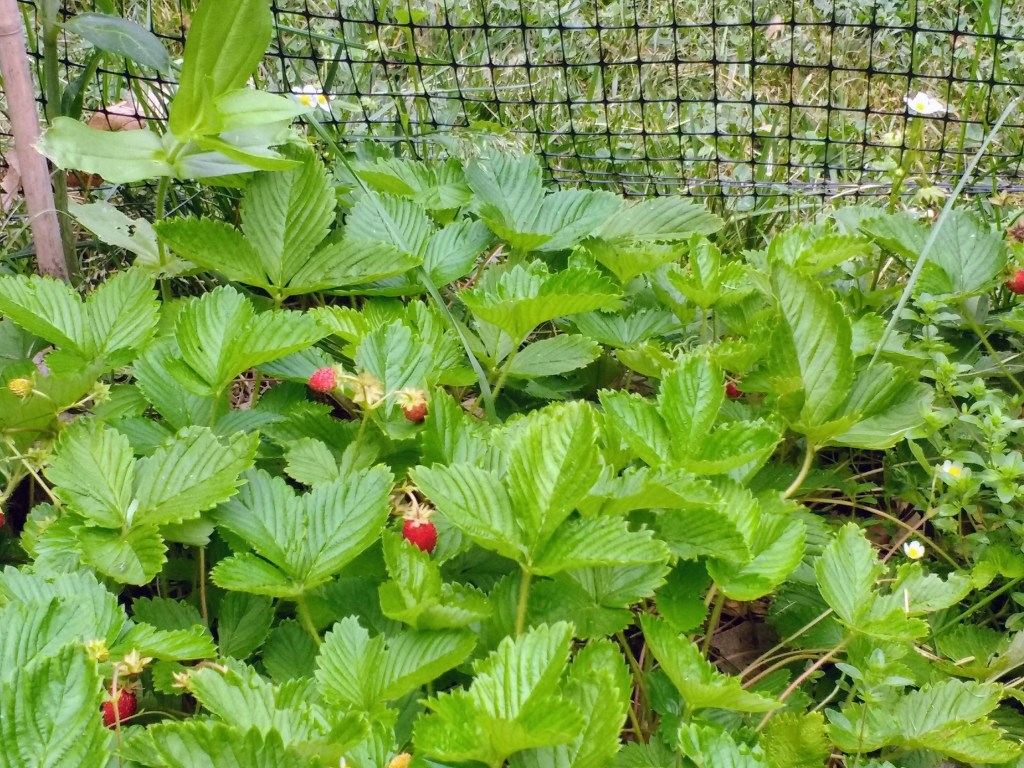
Fragaria virginiana, wild strawberry
Adjust the perceived value of your garden and rethink aesthetics.


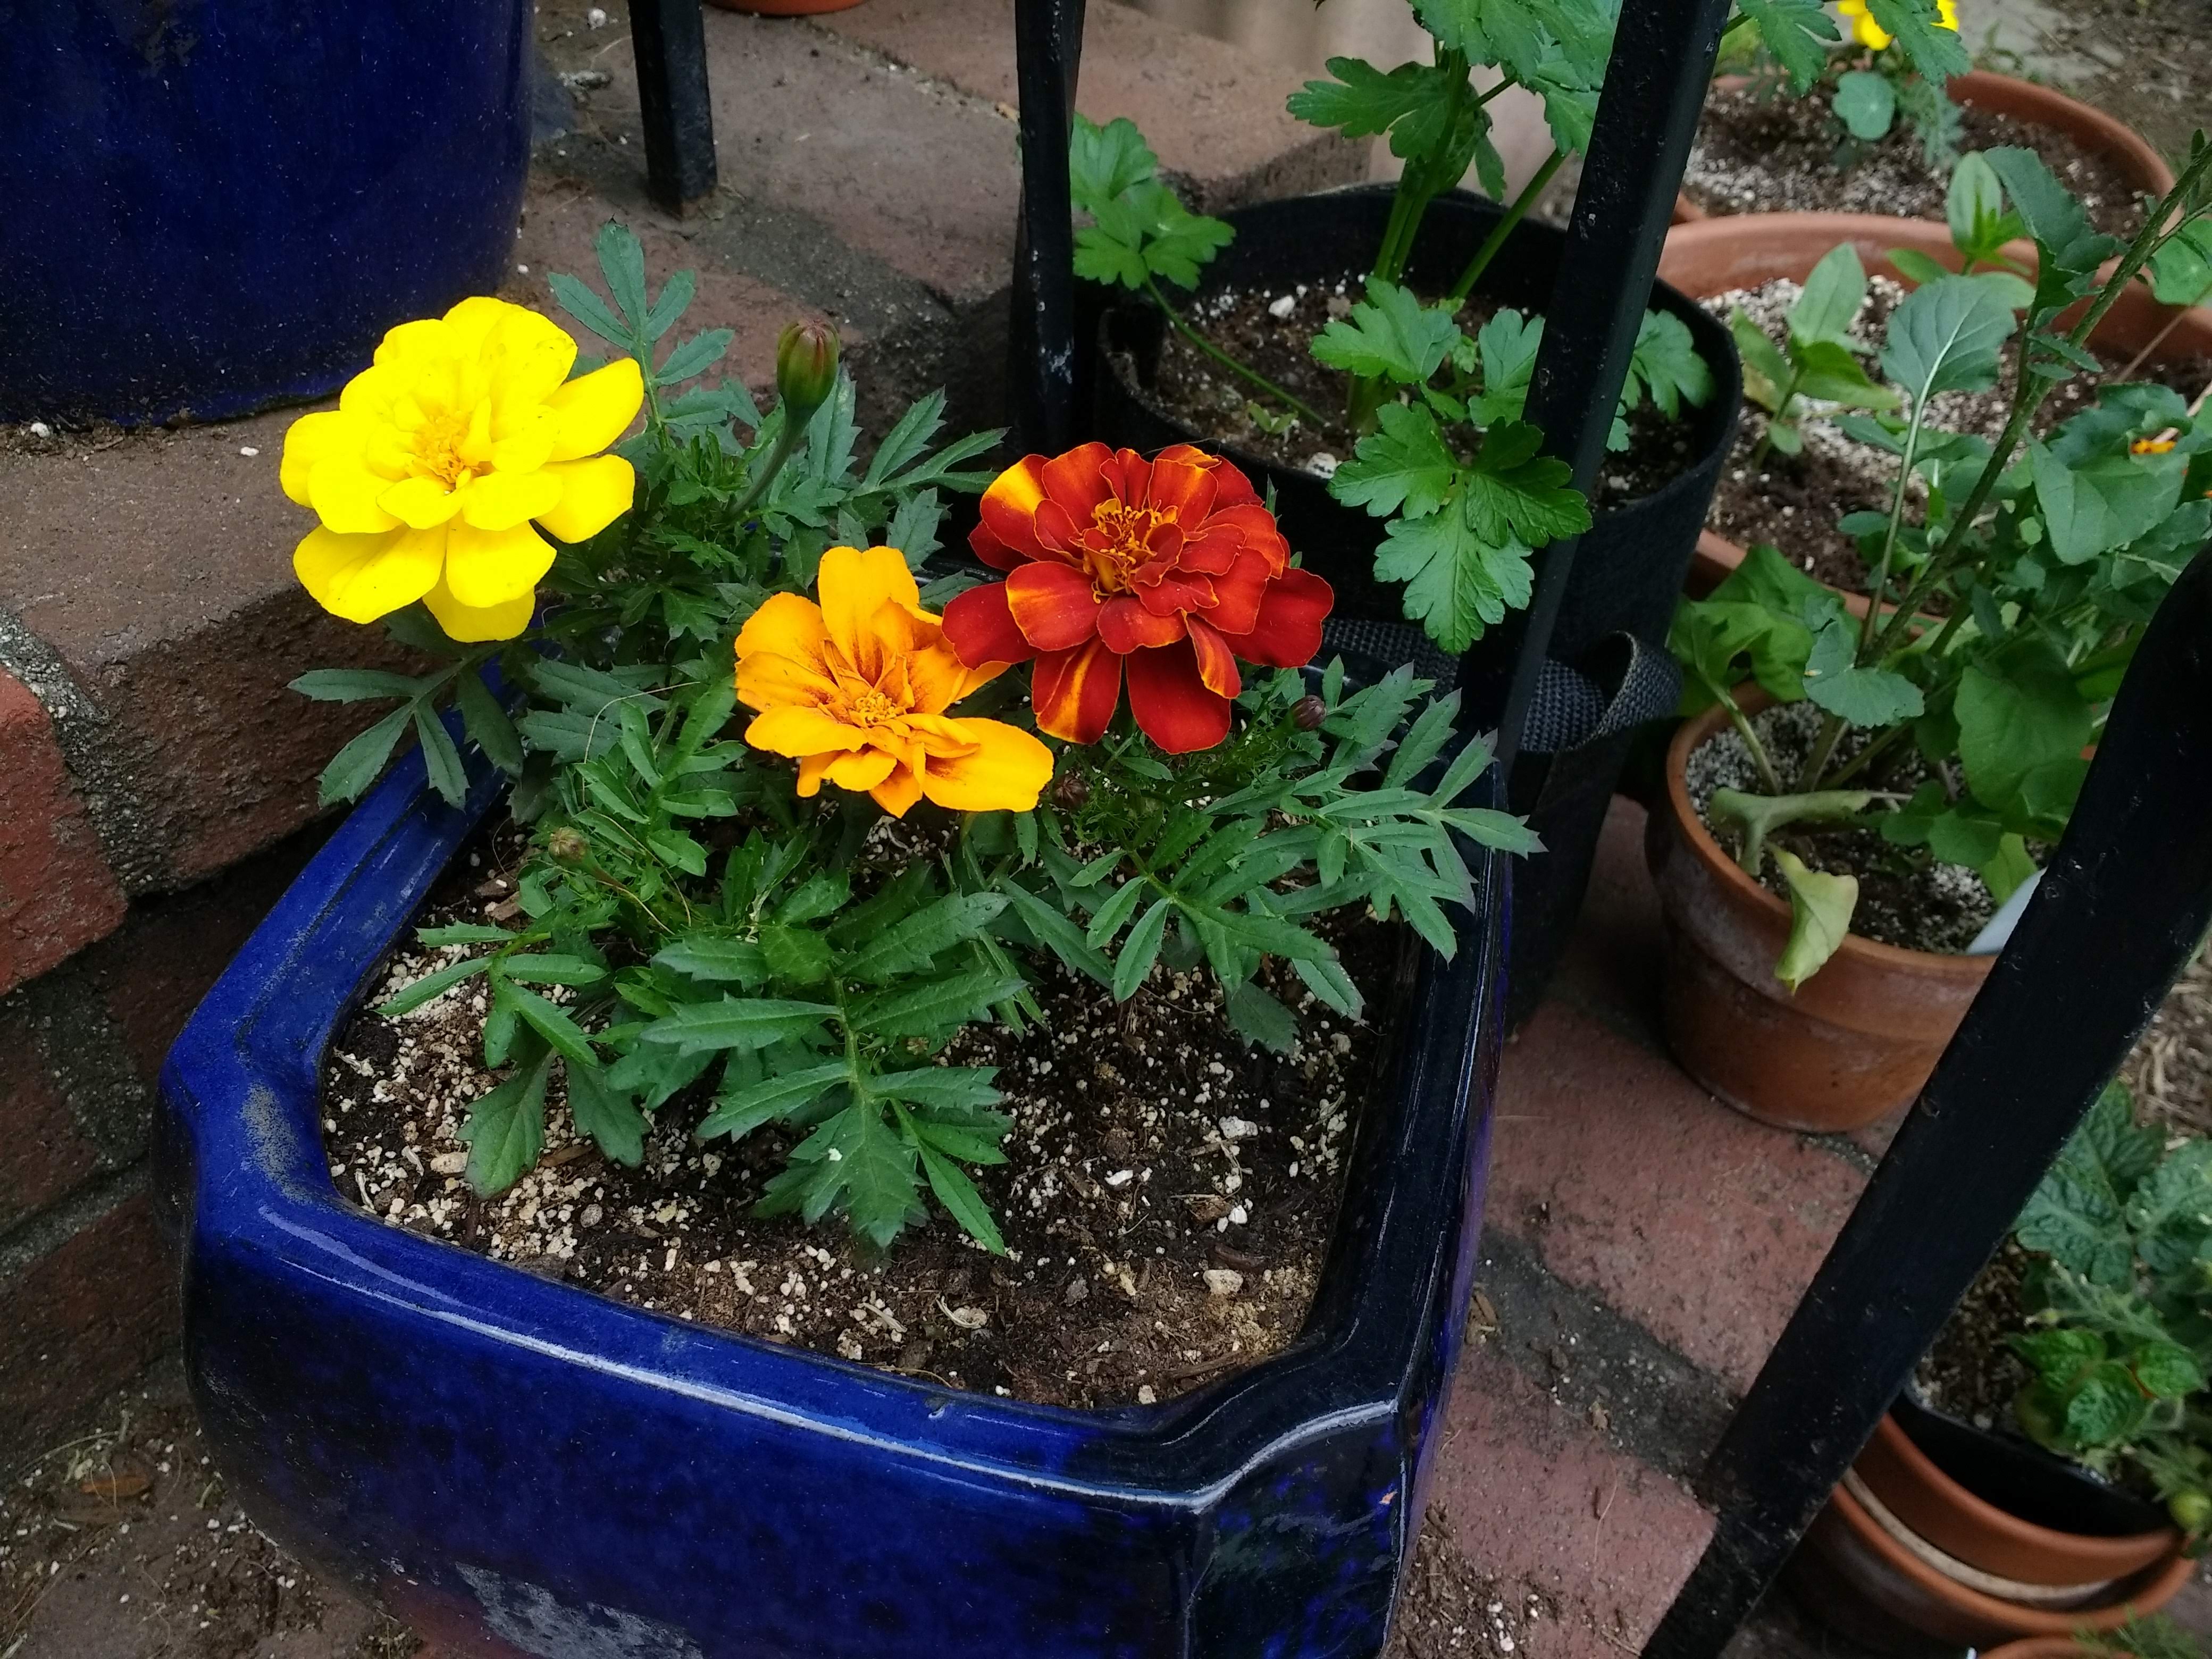
- Broccoli as a beneficial ornamental?! Shown here, wild bees are loving these pretty and heavily-scented flowers from, strangely enough, an Asian variety of broccoli. I planted them last fall with plans to harvest the stalks during the cold months. When an unexpected windy and bitter day blew off their frost protection, I figured they were goners and just left them alone until I could replant. But then they surprised me and produced the prettiest and most beneficial plant of my garden at that moment, when few other plants were in bloom. I suppose I could have pulled them and planted spinach in their place, but their value for the bees far surpassed a spinach harvest for me.

- Leaving behind leaf litter, stems, and seed heads at the end of the harvest can look messy by traditional standards. I get it. My yard makes me a little twitchy when I compare it with my neighbors’ tidy spaces. Make it a new norm and remember you are fostering life in that “mess,” including habitats for wild bees, overwintering egg cases, and food and nesting materials for wildlife. Clean up only the areas that are necessary, such as removing diseased/pest-harboring plant material and raking where leaves threaten to smother plantings. Your vegetable garden will be a more productive space next season.
- For example, preying mantises (R) often leave behind egg cases in fall debris that could easily be discarded during a garden clean up. Side note: the preying mantis is an equal opportunity predator, which means she’ll eat the good guys as well as the bad guys.
For More Information
Plant/Seed Sources
- Holly Hill Farm has been adding more native plants to their vegetable and flower gardening lineup. Sign up for their newsletter and watch for their annual cold and warm weather plant sales. Russ Cohen, local expert on native edibles, often presents as well.
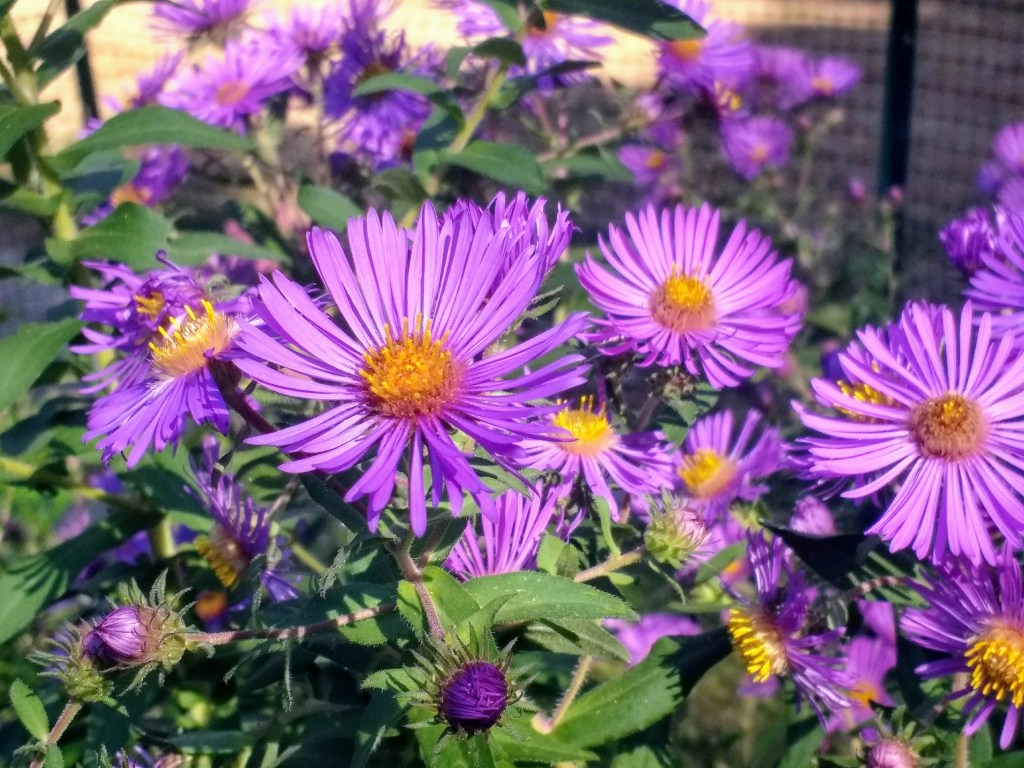
- The Wild Seed Project, located in Maine, is a great resource for seeds and education on how to grow and care for wild seedlings. I grew these New England Asters from seed purchased through this nonprofit.
- The Native Plant Trust offers a wealth of information, educational courses, and native plants for purchase.
- Plant sales from City Natives benefits the community gardens in Boston managed by The Trustees. Educational programs are offered as well.
- Use Native Plant Trust’s Garden Plant Finder to choose native plants suited for your particular conditions and needs.
- Tufts Pollinator Initiative is focused on making native plants readily available to local growers at a low cost. Upcoming sale on June 20, 2021.
Insect and Plant Identification
- UMass Amherst offers a free identification guide for pests you’ll likely see in your local landscape. Hard copies are also available for Purchase.
- See the archives of UMass Vegetable Notes newsletters. Although this publication is written primarily for farmers, it provides a lot of helpful information regarding pests and disease management for home growers. Look for their recommendations for organic controls.
- Beecology is a citizen-science based program that teaches people how to identify native bumble bees and collect data relevant to preserving habitats. I highly recommend this resource, and using it will contribute to the knowledge we need to keep wild bees alive and healthy.
- Habitats for bees? Not all commercial bee houses are safe.
- There’s a right way to leave stems for native bees.
- Go Botany of Native Plant Trust is often a good place to start when you need to identify a plant.
- What are invasives, how do you control them, and what are native alternatives? Brochure from Native Plant Trust.
- List of native plants that attract pollinators, from Native Plant Trust.
- Books on native plants for New England gardens, from Native Plant Trust. Many are available through Old Colony Library network.

Regenerative Gardening Techniques
- NOFA Mass offers a lot of good information on soil carbon restoration
- No-Till Intensive Vegetable Culture— book by no-till veteran Bryan O’Hara
- No and Low-Till Gardening, from UNH Extension. Nice overview, with information on cover cropping and mulching as well.
- Plant Partners: Science-Based Companion Planting Strategies for the Vegetable Garden by Jessica Walliser offers pairing suggestions to optimize your garden. Available through Old Colony Library Network. Information is also available on her website.
- How to use succession planting to keep your garden productive all season long.
Why Grow Native?
- Why are native plants important and what can you do? A good place to start from Native Plant Trust.
- Why Native? from Tufts Pollinator Initiative.
- Douglas Tallamy’s Bringing Nature Home is a highly influential, informative book about the importance of growing native plants. This New York Times article summarizes. Available for members through Old Colony Library network.
- Tallamy’s latest book is Nature’s Best Hope, also available through Old Colony Library network. Join his movement to establish a Homegrown National Park. (PPCG has added some of our native plantings to the map.) And here’s a related article about Tallamy from Smithsonian.
- Native Plant Trust offers online courses


 The takeaway: inexpensive shop lighting works all right for certain crops, but not for others. I’m sure there’s great variation among shop lighting, as well, and it’s difficult to determine exactly how much/what kind of light plants are receiving without a special light meter. I will continue to use the shop lights for certain crops and give my premium grow light space to those plants that need it.


 easily installed. I put these in the category of “it can’t hurt to try.”