Just Links, Mostly: Growing from Seed

Basics

Timing

  • Frost date calculators from Farmer’s Almanac, Dave’s Garden, and The National Gardening Association all use different slightly different weather data and risk levels. Interesting to compare.
  • From our blog, a discussion that gets a bit into the weeds about odds and frost date ranges.
  • Margaret Roach and Johnny’s offer seed-starting calculators. Enter your frost date, and it calculates when seeds should be started indoors, transplanted, or directly sown outdoors. NOTE: Use these calculators as a rough guide. In the spring, I use two sets of frost dates: a riskier one for cold weather crops that can handle a bit of frost and a more conservative one for warm weather crops. Tomatoes, for example, not only can’t handle a frost, but they’re also generally not happy at temperatures under 60 degrees F.
  • Kitchen Garden Seeds offers a very handy list of seed-starting schedules.
  • For a simple chart that will work well in Massachusetts, see this excellent resource from URI.
  • From High Mowing seeds, here’s a resource showing how to get the timing right so that you can sow a succession of crops in your garden.
  • From our blog, starting out the growing season with cold weather crops.

Lighting

Buying Seed

Winter Sowing & Season Extenders

Saving Seed

Easy, Low-Cost & Safe Gardening

I’m writing this post with the hope that we will get to plant in Perkins Park Community Garden this summer. It’s still a big IF, and even if we can open, we will likely face significant restrictions and limitations. So I’m taking a few guesses and posting some ideas to help with planning our plots. Or maybe at home you have a patch of sun and space for a 5-gallon container or window box.

Keep it simple. Now is not the time to design complicated garden layouts, especially if this gardening season is your first try. Pick one to a few things you like to grow or eat.  It’s okay to leave open space, but plan to mulch those areas if you can (see below). And know that even if we open up, there’s always a chance we could get shut down again if the pandemic worsens.

Try No- or Low-Dig Gardening. If ever there was a good year to try a more tools-off approach to garden prep, this may be the one, when our tool shed may not be open. See here and here  for the rationale and potential benefits of no-dig gardening.

Mulch.  Last fall, many of us mulched our gardens with leaves and other material, which can be brushed into the areas among new plantings (keep young plant stems clear of mulch). But if your plot is bare, laying down some mulch will save some work later by (1) blocking weeds, (2) improving water retention, (3) building more fertile soil and (4) protecting plants from soil-born diseases. If you use leaves from PPCG and have a tool like a hoe or rake, chop them up a bit so that they don’t form a dense mat that blocks water. Or use corrugated cardboard or brown paper lawn refuse bags/grocery bags, or multiple layers of newspaper. Weight it all down with rocks, jugs of water, etc.. Added bonus: worms love this stuff.

Be Water Wise. We may need to haul our water to the garden, or we may not be able to share hoses and watering cans, so just in case, start saving up those gallon jugs, beverage containers, etc. with caps. (This is one other good reason to keep your garden plan very simple.) Also, once your plants are established, work on watering deeply and less frequently to encourage the development of deep roots and more drought-tolerant plants. See here for more ideas and lists of drought-tolerant plants. And here’s another post on preparing for drought.

Improvise and use what you have and limit your trips out to the stores.

  • Kitchen implements such as serving spoons and forks can work as garden hand tools. Paper grocery bags and newspaper work great as mulch. Milk jugs can act as mini greenhouses or pest protection (just be sure to vent them). Use scraps of old textiles for tying plants. Scavenge fallen branches to support tomatoes and create garden trellises.
  • More garden hacks here and here.
  • Ordering of seeds is delayed at many sites. How about that old packet of seeds? Are they still good? Use them if you can. Test a few seeds out to see if they sprout using this method. DSC_3375
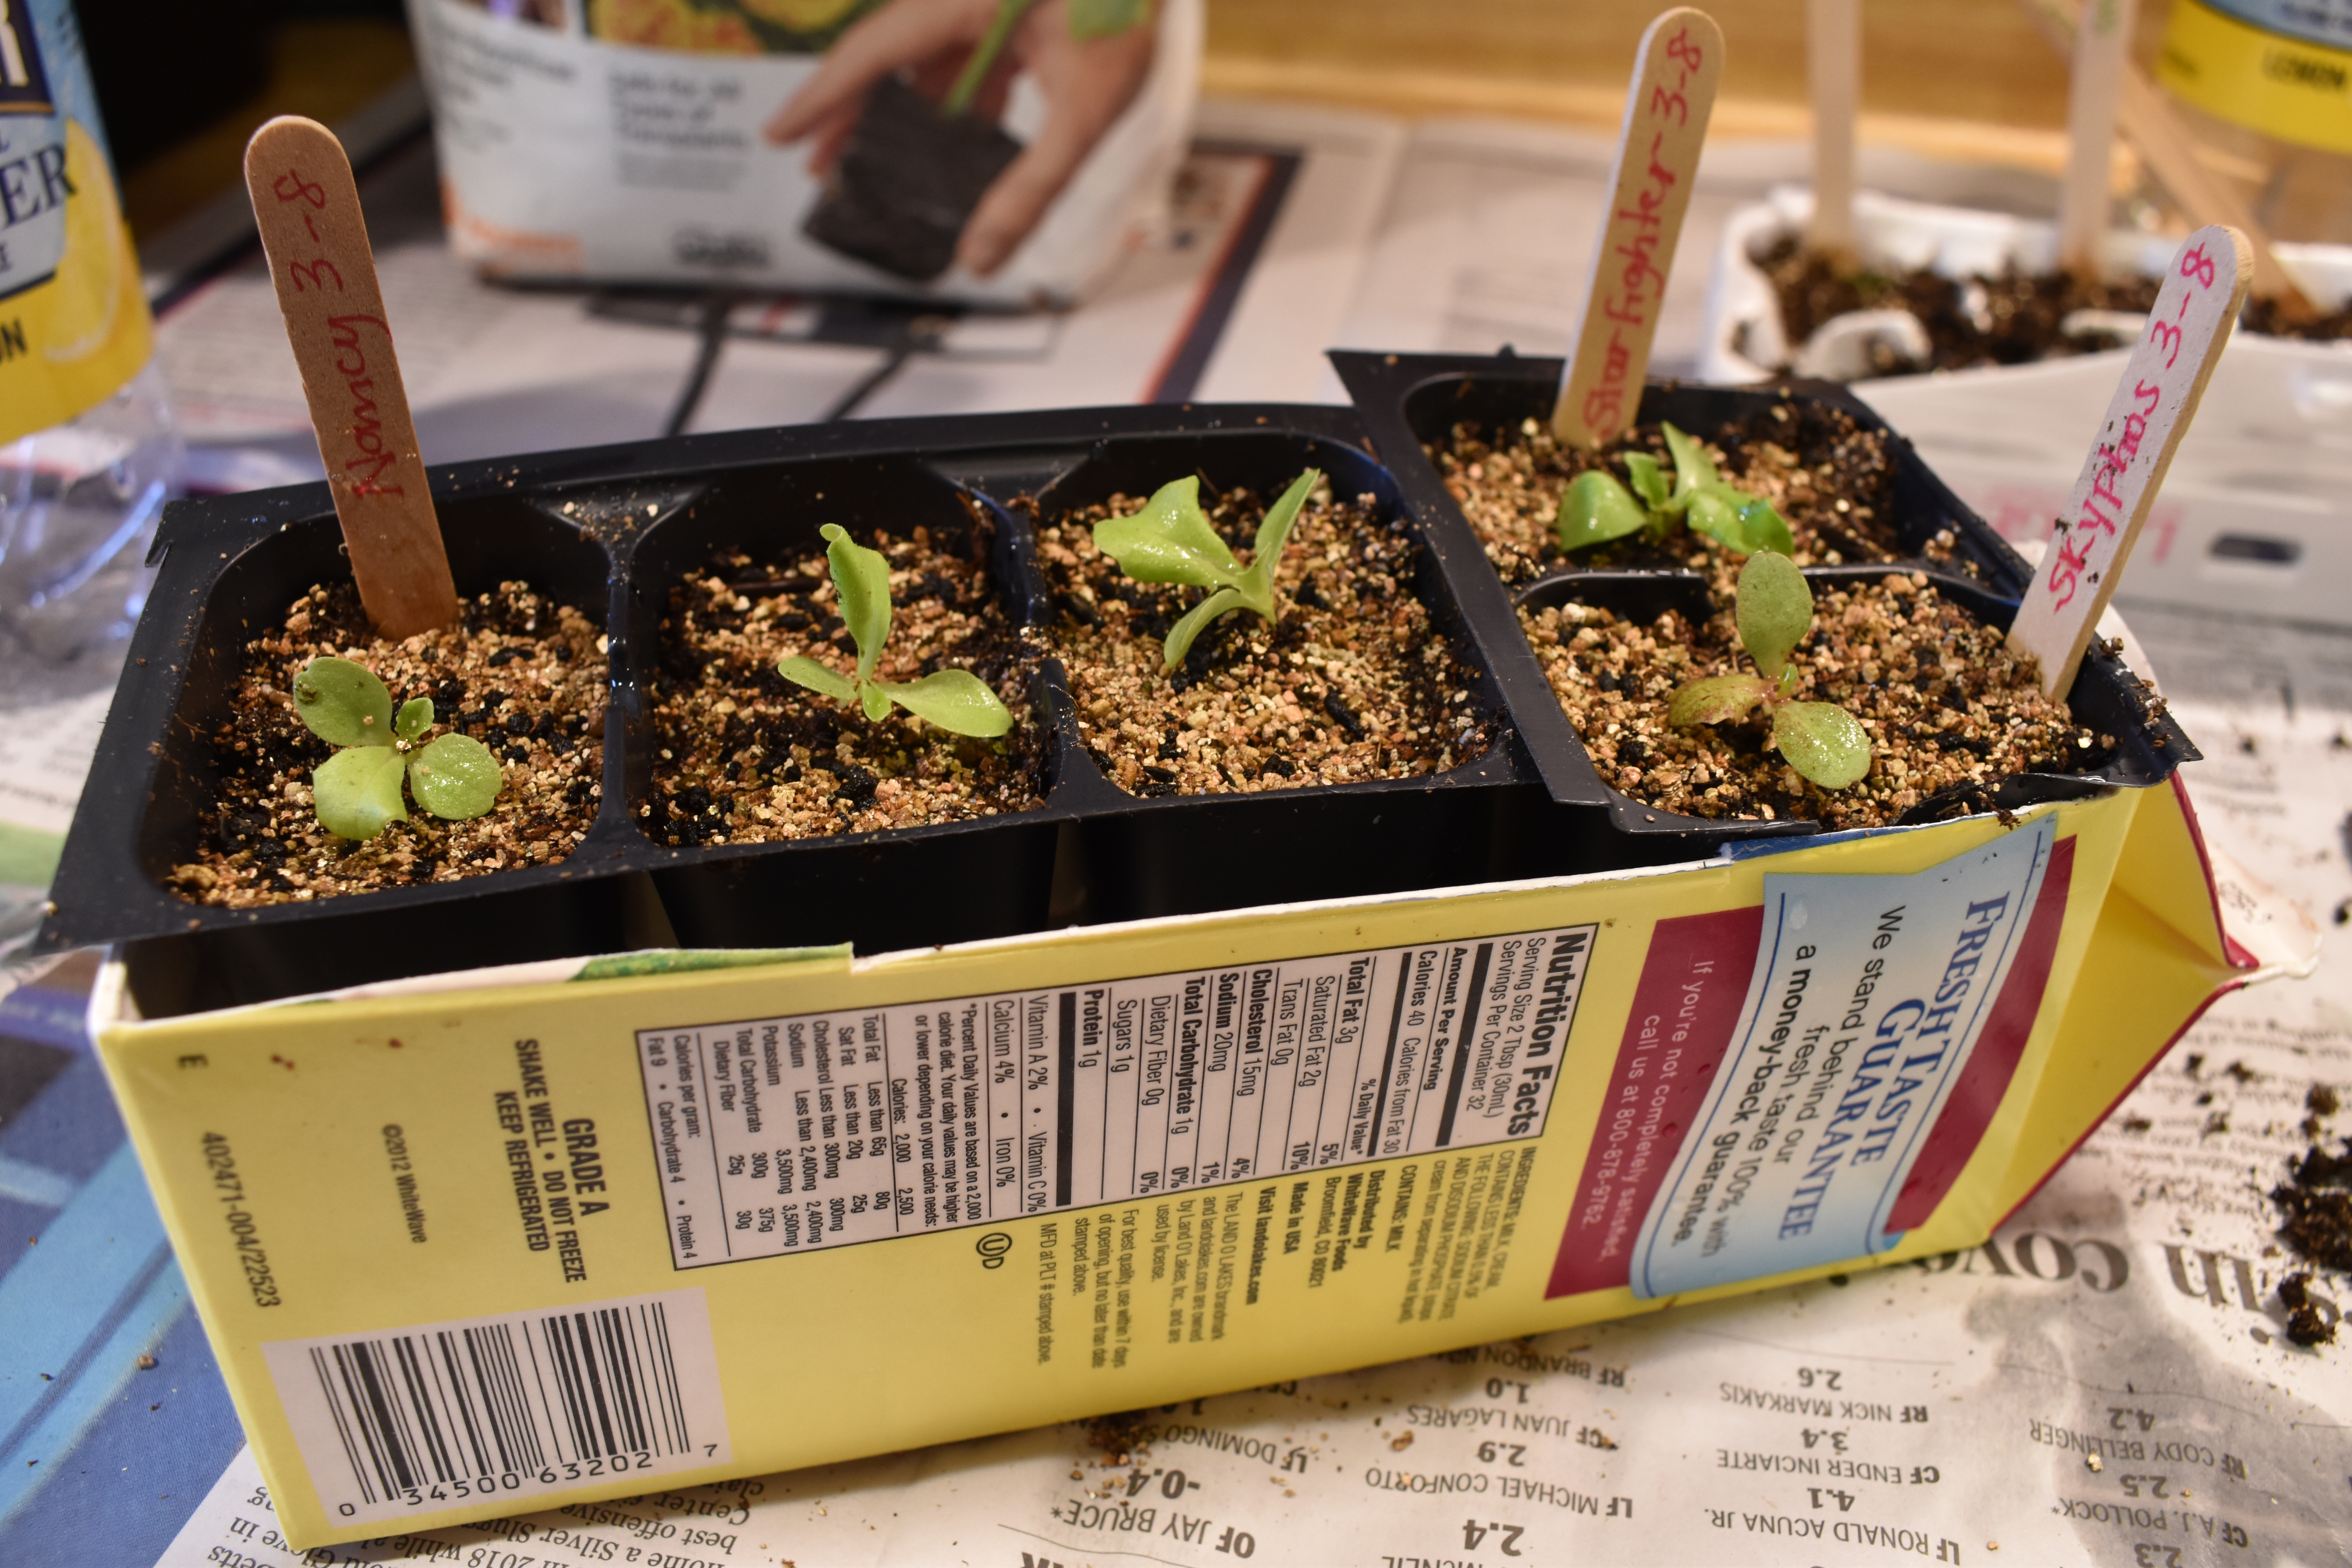
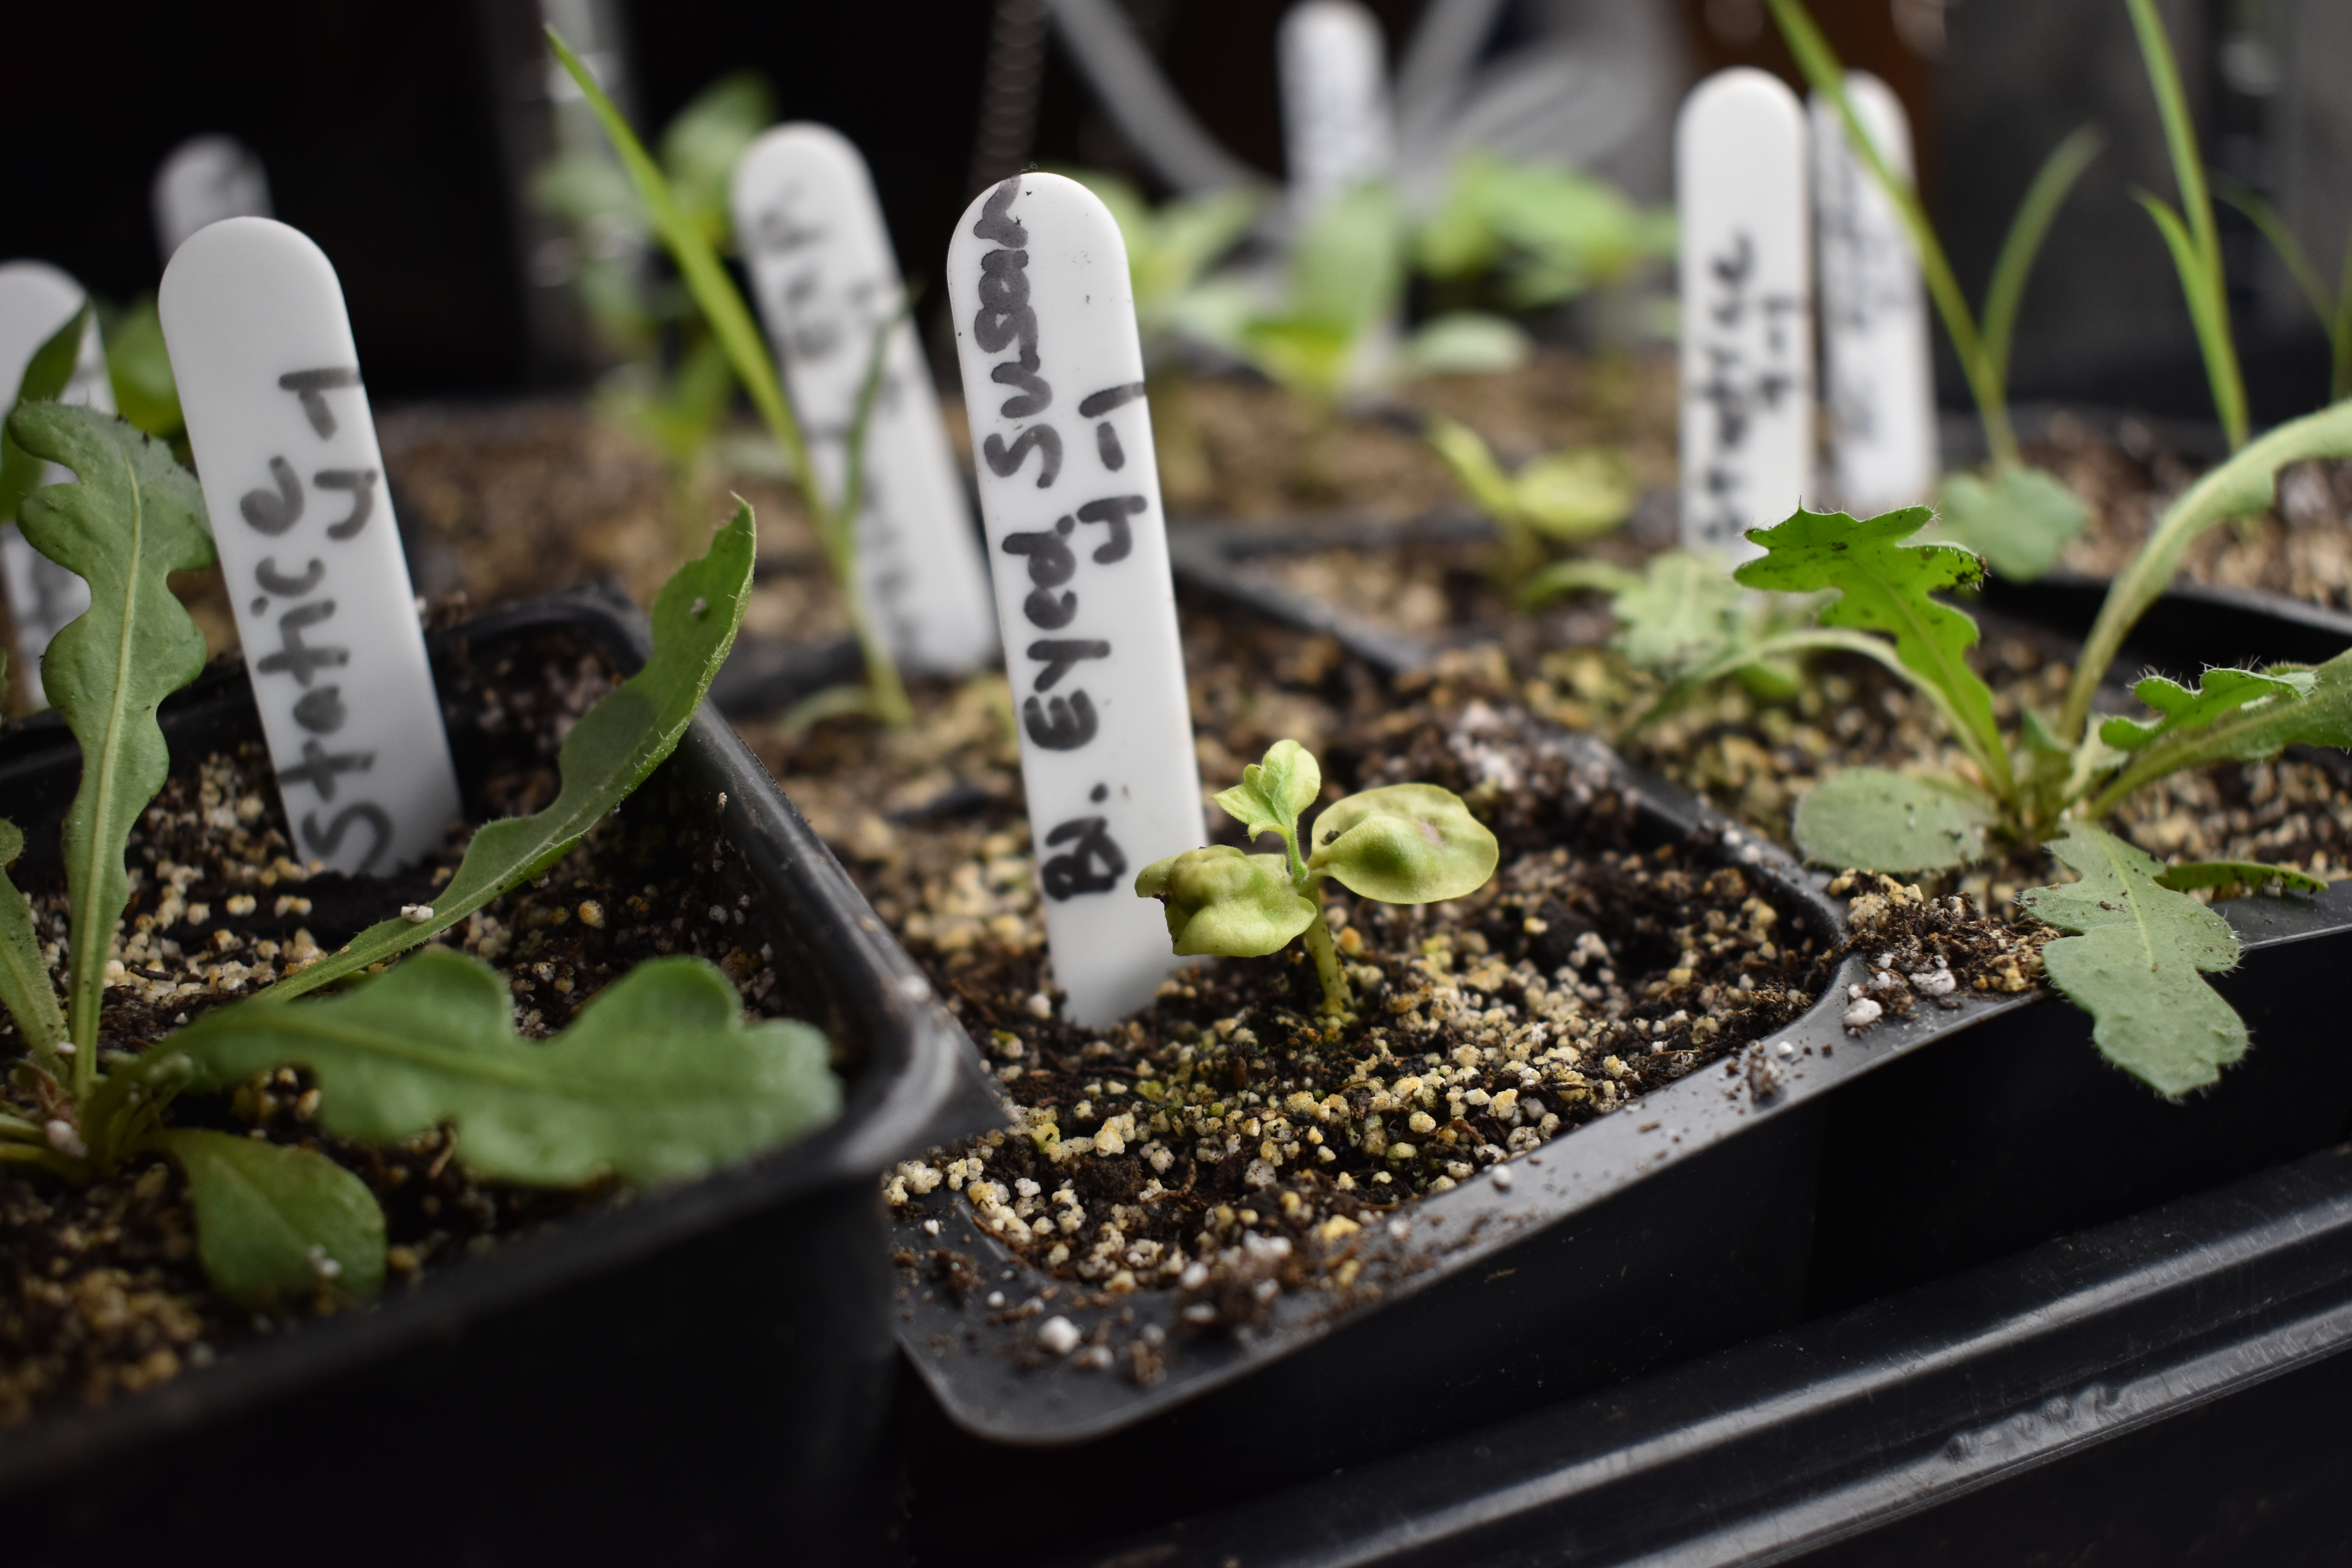
See here, this Black-Eyed Susan vine (front, middle) planted on April 1, now nearly 1.5 months later? It sprouted, but lost its oomph. Poor girl. But many other seeds will do just fine from year to year. More seed-starting tips here.

No-crowd shopping.

  • The Lowe’s parking lot in Weymouth has been almost as crowded as Pond Meadow Park. (Not really, but PMP is unruly these days.) If you must go out and buy anything, try some outdoor garden centers that may be less crowded, such as Christopher’s Garden Shop and Farm Stand (Facebook link) in Weymouth or the Artery Garden Center at 625 Southern Artery in Quincy (in Goodwill parking lot).
  • Non-profit organizations that rely on annual seedling sales are being responsive to the pandemic and are coming up with safe shopping alternatives. See Marshfield, City Natives, and Holy Hill Farm. Stay tuned for Brookwood Farm, which is evaluating its inventory.
  • Does your grocery store or other essential shopping stop sell seeds? A few weeks ago, Kam Man had seed displays filled with a nice selection of Asian greens and other veggies not typically found in the Burpee racks at Home Depot.

Low-fuss planting.

  • It can be hard to start plants from seed at the garden. They need extra watering care until they germinate and as seedlings. There may be pest pressure. Or if we get a big rainstorm, your seeds/seedlings may be washed away. Instead, start seedlings at home for transplant or purchase plants that are ready to be planted out in the garden.
  • Look for F1 or hybrid varieties that are more resistant to diseases than heirloom varieties.
  • Look for quick-maturing varieties. New Girl tomato, for example, matures in 62 days, whereas Grand Marshall takes 78 days. That’s a big difference. (Be aware, too, that in late summer, shade on the southern edge of PPCG grows long and will lengthen your ‘days to maturity.’)
  • Look for easy-to-grow crops. I like this article from High Mowing Seeds, which includes a planting schedule example. One note: zucchini isn’t impossible to grow at PPCG, but we do have some pressure from the dreaded squash vine borer.

It’s almost never too late. Even though we are coming upon the time when we could be planting our second succession of crops (warm-weather crops such as tomatoes, green beans, cucumbers, and peppers), there’s still plenty of time ahead for a third “slot” for planting (quick-growing warm-weather crops and cool weather fall crops).

Hope to see you soon!

Five Indoor Seed-Starting Tips from Margaret Roach’s A Way to Garden

Select Seeds Suited for Indoor Sowing and Transplanting

Many crops start well indoors–and need the extra growing time in a protected space while the weather is still too cold–but a few grow better when sown directly in the garden. There aren’t any no-break rules here. Even carrots can be transplanted, though it’s not generally recommended. Especially if you are trying a crop for the first time, read the seed packet for instructions on which method typically works best. Pay attention, too, to the days to maturity information and your crop’s cold tolerance to help decide where and when to sow.

Start with Good Materials

DSC_1656
Many seeds are viable for more than one year, but members of the onion family are notoriously short-lived. Pictured here, I sowed the far corner with fresh onion seeds and the near corner with seeds only 1 year-old. Barely any of the old seeds germinated.

  • Clean your seed-starting containers with a 1:9 bleach:water solution or soapy water.
  • Use a sterile grow medium formulated for seed-starting.
  • For best results, use fresh seeds. (See this link to a chart on seed viability and a great discussion on the difference between viability and vigor. More info here.)

Water Wisely

Keep your planting medium evenly moist until your seeds sprout, then let it dry out slightly between watering. In no instance should it be soggy or bone dry. Be gentle if you water on top and use a mister or similar method. Bottom watering avoids the problem of dislodging seeds and young transplants and helps prevent diseases.

Get the Light Right

This one is Margaret Roach’s most emphasized tip. Seedlings will need supplemental lighting–more than they’ll likely get on your windowsill–or they’ll grow tall and spindly.

For Perkins Park Gardeners: What to do if you don’t have a fancy grow light set up and still want to sow your own seeds for transplanting?

    • Try inexpensive shop lights. I’ve had reasonable success growing seedlings with a couple of shop lights purchased for around $15 at Ocean State.
    • Squeeze one or two cell packs on your windowsill and supplement with a simple clamp light fixture (bulb separate). Set them outside on warm-enough days, taking care to harden them off (see next tip) along the way.

      DSC_1682
      Lettuce seedlings grown on a windowsill get a little long and floppy, but do all right if you don’t have to hold them long indoors.

      DSC_1685
      But seedlings quickly dry out and outgrow their small egg carton confines.

      DSC_1686
      Here’s another windowsill setup, fashioned out of a recycled cell pack and a milk carton, that gives seedling roots more room to grow.

Take Time to Transplant with Care

Harden off plants before you transplant them to their final space in the garden. They’ll need to gradually acclimate to outdoor conditions, especially to the sun. Start with no more than 1 hour outside in direct sun on the first day (not midday) and gradually increase the time of outdoor exposure over the course of about a week. You’ll know you’ve overdone it if you see bleached or brown and crispy patches on your plants’ leaves. Alternatively, some people like to choose overcast days, leaving them outside during daytime hours for a few days.

Once you’ve gotten your plants hardened off, make sure you’re not rushing to get your plant in the garden too early, before you are reasonably clear of of unsuitable weather.


For more seed-starting tips (and more):

A Way to Garden by Margaret Roach (2019).

For a wide range of seed-starting information see Margaret Roach’s website.


Getting Started at PPCG (Part 5): Planting

Before you dig, check to see whether your soil is ready to be worked.

Working your soil when it is too wet creates big clumps, air pockets, and compacted areas.

Consider whether a no-till option will work well in your plot. (Again, see link above.)

Rockspexels-photo-634548.jpeg

Some of our plots have a fair amount of rocks that you’ll want to remove before you plant. Please do not pile them at the edge of your garden, where they are hazardous when we mow; instead, use a bucket from our compost area to collect and discard them in the brush behind the composters.

For tips on planting seeds and transplants, see this tip sheet from UMassAmherst.

Your seed packet or plant tag will also have information on how to plant and space. If you are purchasing seedlings, ask if they’ve been hardened off. (See tip sheet for more info on hardening off.)

After you’ve planted, your garden will probably look sparse, but remember that your plants need room to grow and will fill in quickly. Every year I’m amazed by how different my garden looks at the end of the season.

Intensive gardening involves techniques that maximize yields in a given space.

Before I say anything else on this topic, I’ll mention first that intensive gardening requires a lot of planning. If you are just starting out in the garden, you may do better your first season by keeping things simple and planting with traditional guidelines.  

Traditionally, crops are planted in straight rows with ample spaces between plants and rows. Most of the information that you’ll see on your seed packets and plant tags relies on traditional spacing guidelines. In many cases, you can fit more plants in your space than these guidelines indicate.

Certain plants in particular can handle some crowding. Peas, carrots, and radishes, for example, can be planted in bands, with rows of staggered seeds. My seed packet of Mini Mak radishes from Johnny’s instructs, “Sow in 2-3″ wide bands or single rows, seeds about 3/4 – 1″ apart (about 35 seeds/ft for bands and 15 seeds/ft. for single rows).” Based on this info, you can see how much more you can grow in a given space.

One of the simpler ways to make efficient use of our small plot area is to grow vertically. Consider growing pole beans, for example, instead of rows of bush beans

Another intensive practice includes successive plantings, which means harvesting one crop and immediately following with another. You might follow an early carrot harvest with a planting of bush beans. Or you might follow one harvest of bush beans with another. Interplanting involves fitting one crop within another’s space. Quickly-maturing radishes, for example, might be fitted among carrots and harvested first, freeing up space for the still-growing carrots.

Some plants don’t respond well to crowding. Tomatoes, for example, require a lot of space and are susceptible to diseases if not given adequate air flow. They’ll yield more if they are given sufficient room to spread. Still, you can maximize the number of tomato plants you can fit in an area by planting them in staggered rows.

Companion Planting

Companion planting is the idea that certain plants grown in combination with each other yield benefits. There is very little science backing up most companion- planting claims. For example, I often see the advice to plant marigolds as a pest deterrent, when in fact, there’s very limited evidence backing up this claim. Worse, in my own experience, marigolds draw Asiatic garden beetles, which strip both the marigolds and my basil plants. That’s not to say you shouldn’t plant marigolds if you like them or have had positive results with them in the past. There simply isn’t enough research to recommend them broadly as a pest deterrent.

Another popular example of companion planting is known as “Three Sisters.” In this case, corn is planted with pole beans and squash. The corn offers structural support for the climbing beans. Beans provide nitrogen for the heavy-feeding corn. And squash provides shade to help keep the soil moist.

Want a few other companion planting ideas? See this link.


Continued…

Part 6: Garden Maintenance

In case you missed it…

Part 1: Organic Gardening and Soil

Part 2: Our Growing Season and Gardening Resources

Part 3: Garden Design

Part 4: Plant Choices and Sources